Devices & Inventory
Devices are the heart of GridNMS. Every switch, router, firewall, server, access point, and storage array you monitor lives in your inventory. This page explains how to browse that inventory, add new devices, organize them, and inspect a single device in depth.
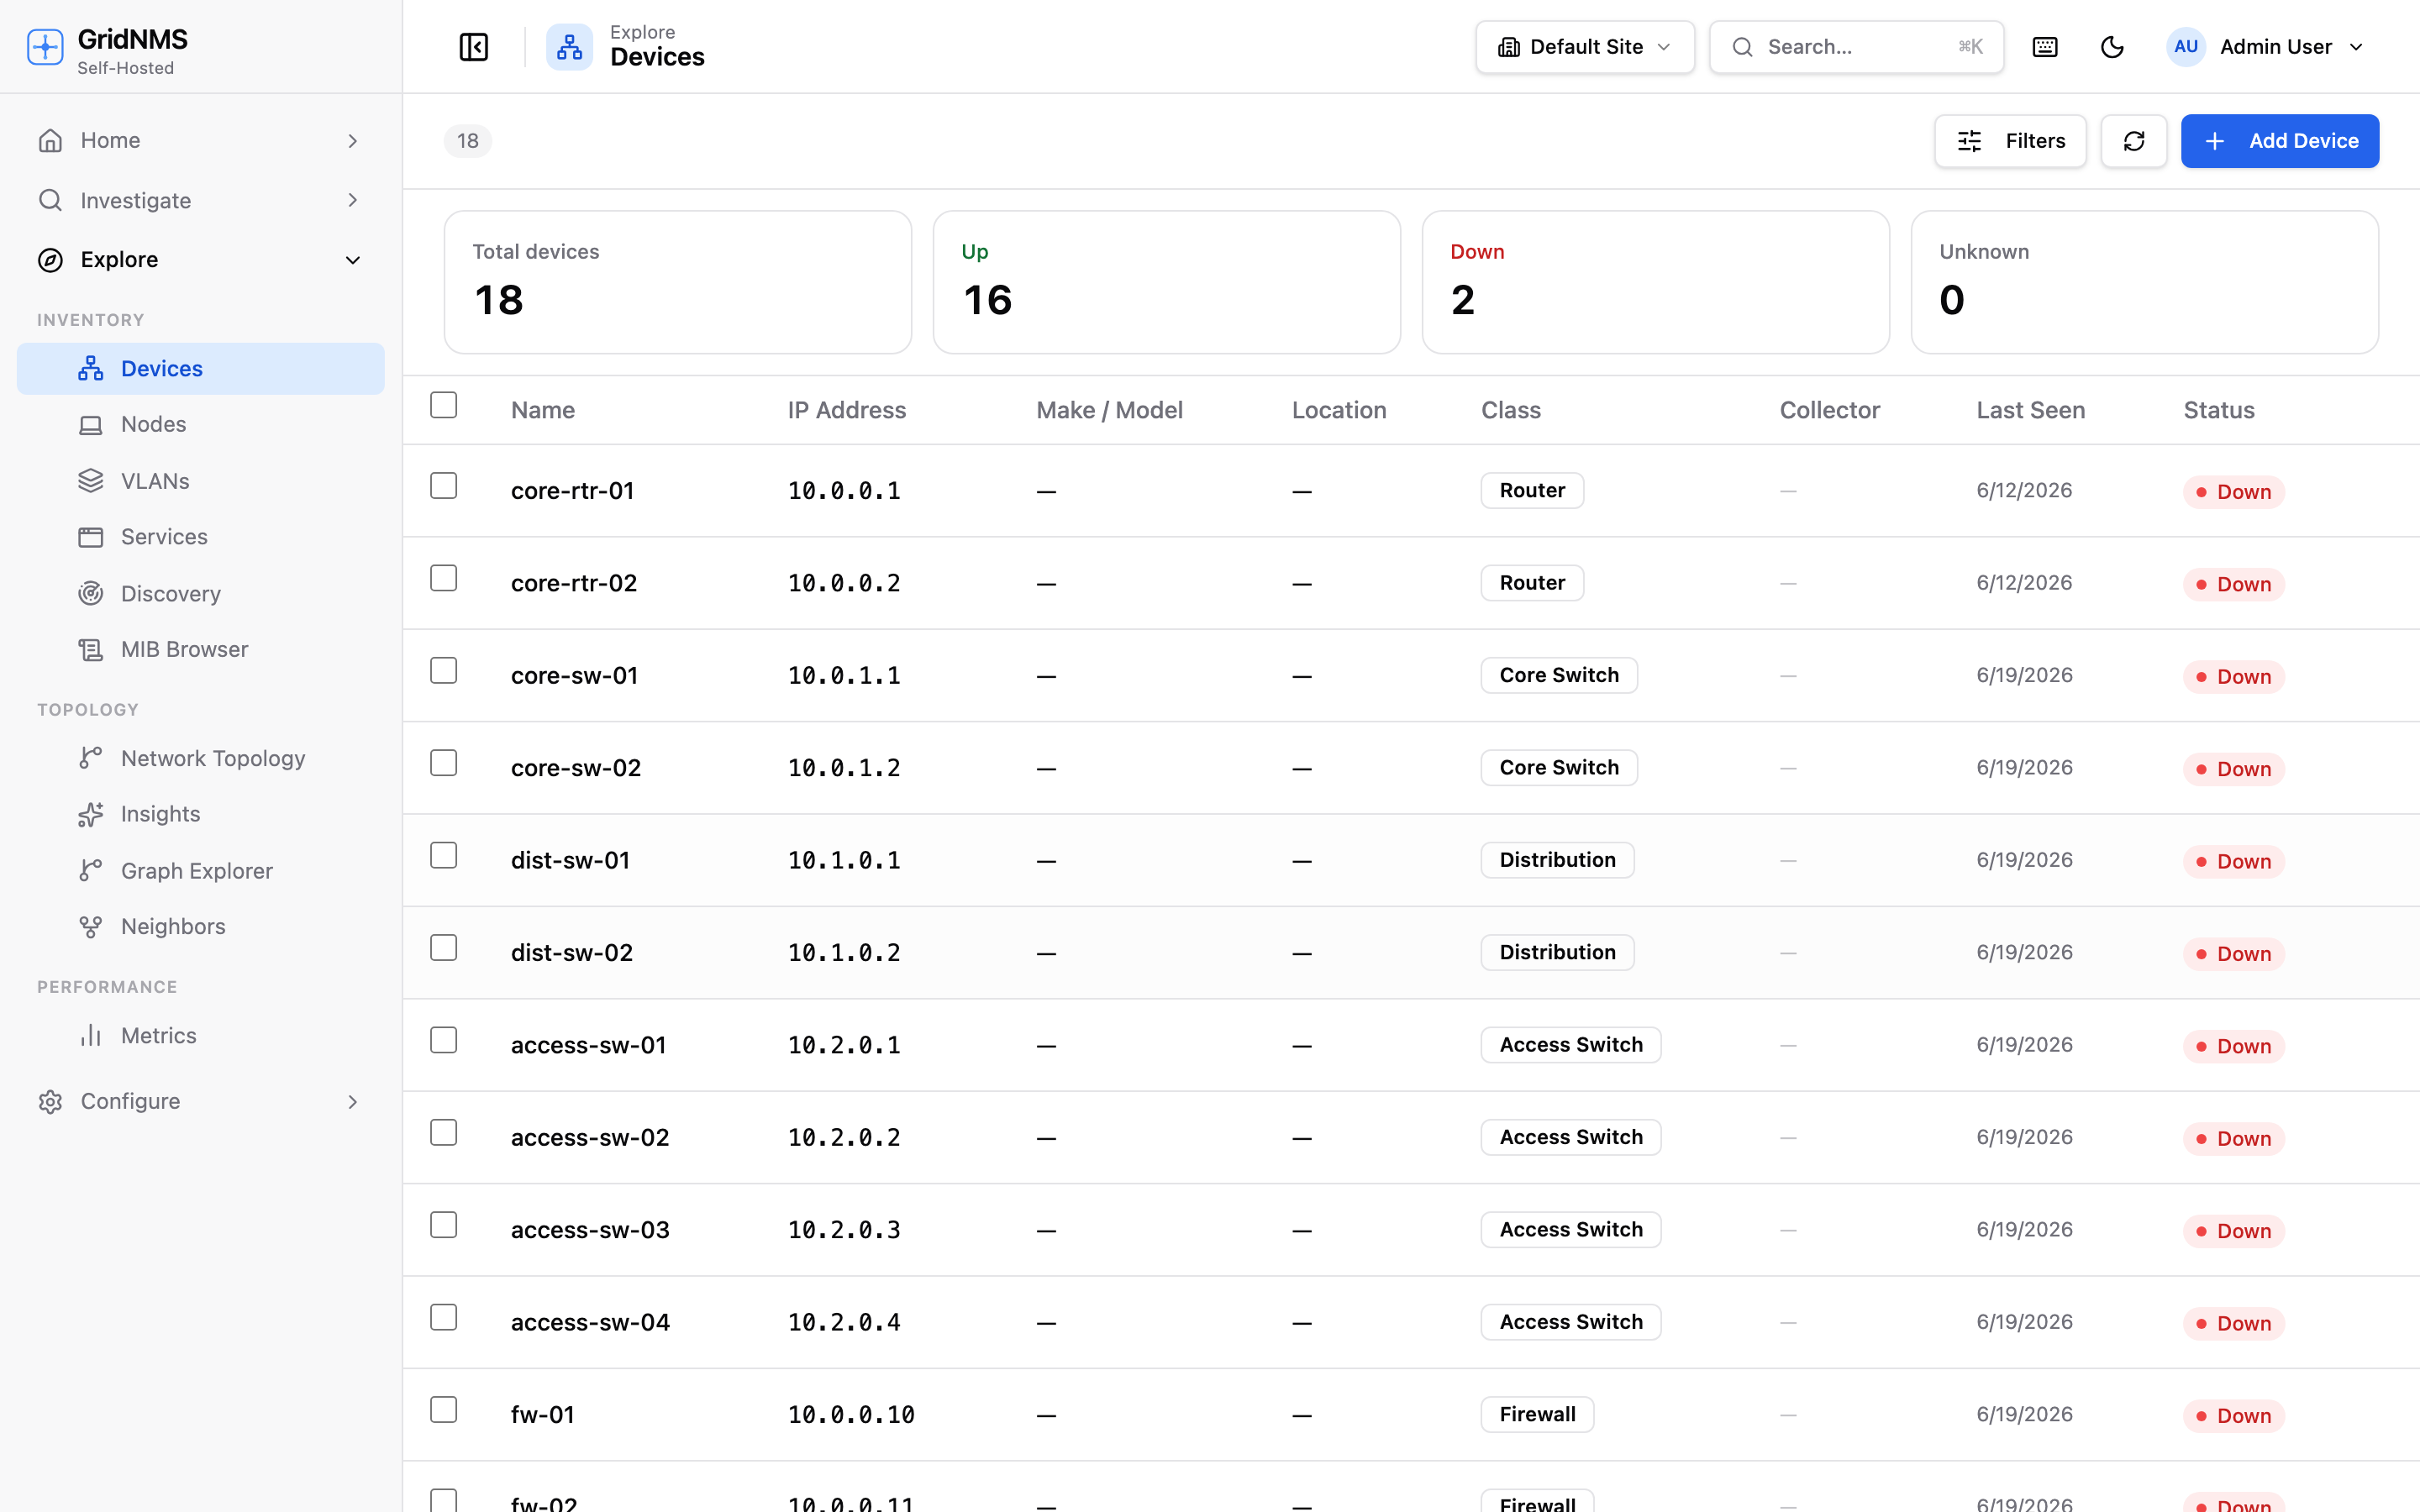 The device list with status badges, filters, and summary cards across the top.
The device list
Section titled “The device list”Open Devices from the main navigation to see everything GridNMS is tracking. At the top, summary cards give you a running count of Total, Up, Down, and Unknown devices — click any card to filter the list to just those devices.
The list itself shows one row per device. Typical columns include:
| Column | Description |
|---|---|
| Status | A colored badge: Up, Down, Unknown, or Unmonitored. |
| Name | The device’s display name (often its hostname). |
| Address | The IP address GridNMS uses to reach it. |
| Class | The device type — Router, Switch, Firewall, Access Point, and so on. |
| Site | Which location the device belongs to. |
| Last seen | When the device was last confirmed reachable. |
Status badges
Section titled “Status badges”- Up — reachable and responding to monitoring.
- Down — failed its reachability check.
- Unknown — state not yet determined (newly added, or its collector is offline).
- Unmonitored — the device is in your inventory but monitoring is turned off, so GridNMS isn’t checking it.
Searching and filtering
Section titled “Searching and filtering”Use the search box to find a device by name or IP. Use the filters to narrow the list by class, site, status, or vendor. Filters and the status cards stack, so you can quickly answer questions like “show me every Down switch in the East datacenter.”
Adding a device
Section titled “Adding a device”- Click Add Device in the top-right of the device list.
- Enter the device’s name and IP address.
- Choose a class (Router, Switch, Firewall, etc.). The class determines which monitoring packs apply and which detail tabs appear.
- Assign the device to a site and, if needed, a specific collector that can reach it.
- Add monitoring credentials (see below).
- Confirm. The device appears in the list and monitoring begins shortly after.
Device classes and the hierarchy
Section titled “Device classes and the hierarchy”Every device belongs to a class that describes what kind of device it is. Classes are arranged in a hierarchy (for example, a specific switch model can sit under a general Switch class), and monitoring settings flow down that hierarchy. Assigning the right class means a device automatically inherits the correct checks and detail tabs without you configuring anything per device.
Sites and collectors
Section titled “Sites and collectors”- Site groups devices by physical location and drives the Site selector used across GridNMS.
- Collector is the GridNMS component that actually reaches out and polls the device. GridNMS can usually pick the right collector automatically based on the device’s network, but you can pin a device to a specific one if needed. See Collectors for how this works.
Monitoring credentials
Section titled “Monitoring credentials”To poll a device for detailed metrics, GridNMS needs credentials:
- SNMP — a community string (v2c) or username/auth/privacy settings (v3), used for interface counters, CPU, memory, and other metrics.
- SSH — a username and password or key, used for command-based collection on devices that support it.
You can set credentials globally and override them per device when a particular device uses a different community string or login. Open the device, go to its settings, and enter the override there — it takes precedence over the global default for that one device.
The Monitor toggle
Section titled “The Monitor toggle”Each device has a Monitor on/off toggle. Turn it off to stop all checks for a device — useful for gear that’s being decommissioned, lab equipment, or a device you don’t want generating alerts. While monitoring is off, the device shows the Unmonitored badge and raises no events. Turn it back on to resume.
The device detail page
Section titled “The device detail page”Click any device in the list to open its detail page — a focused view of everything GridNMS knows about that one device.
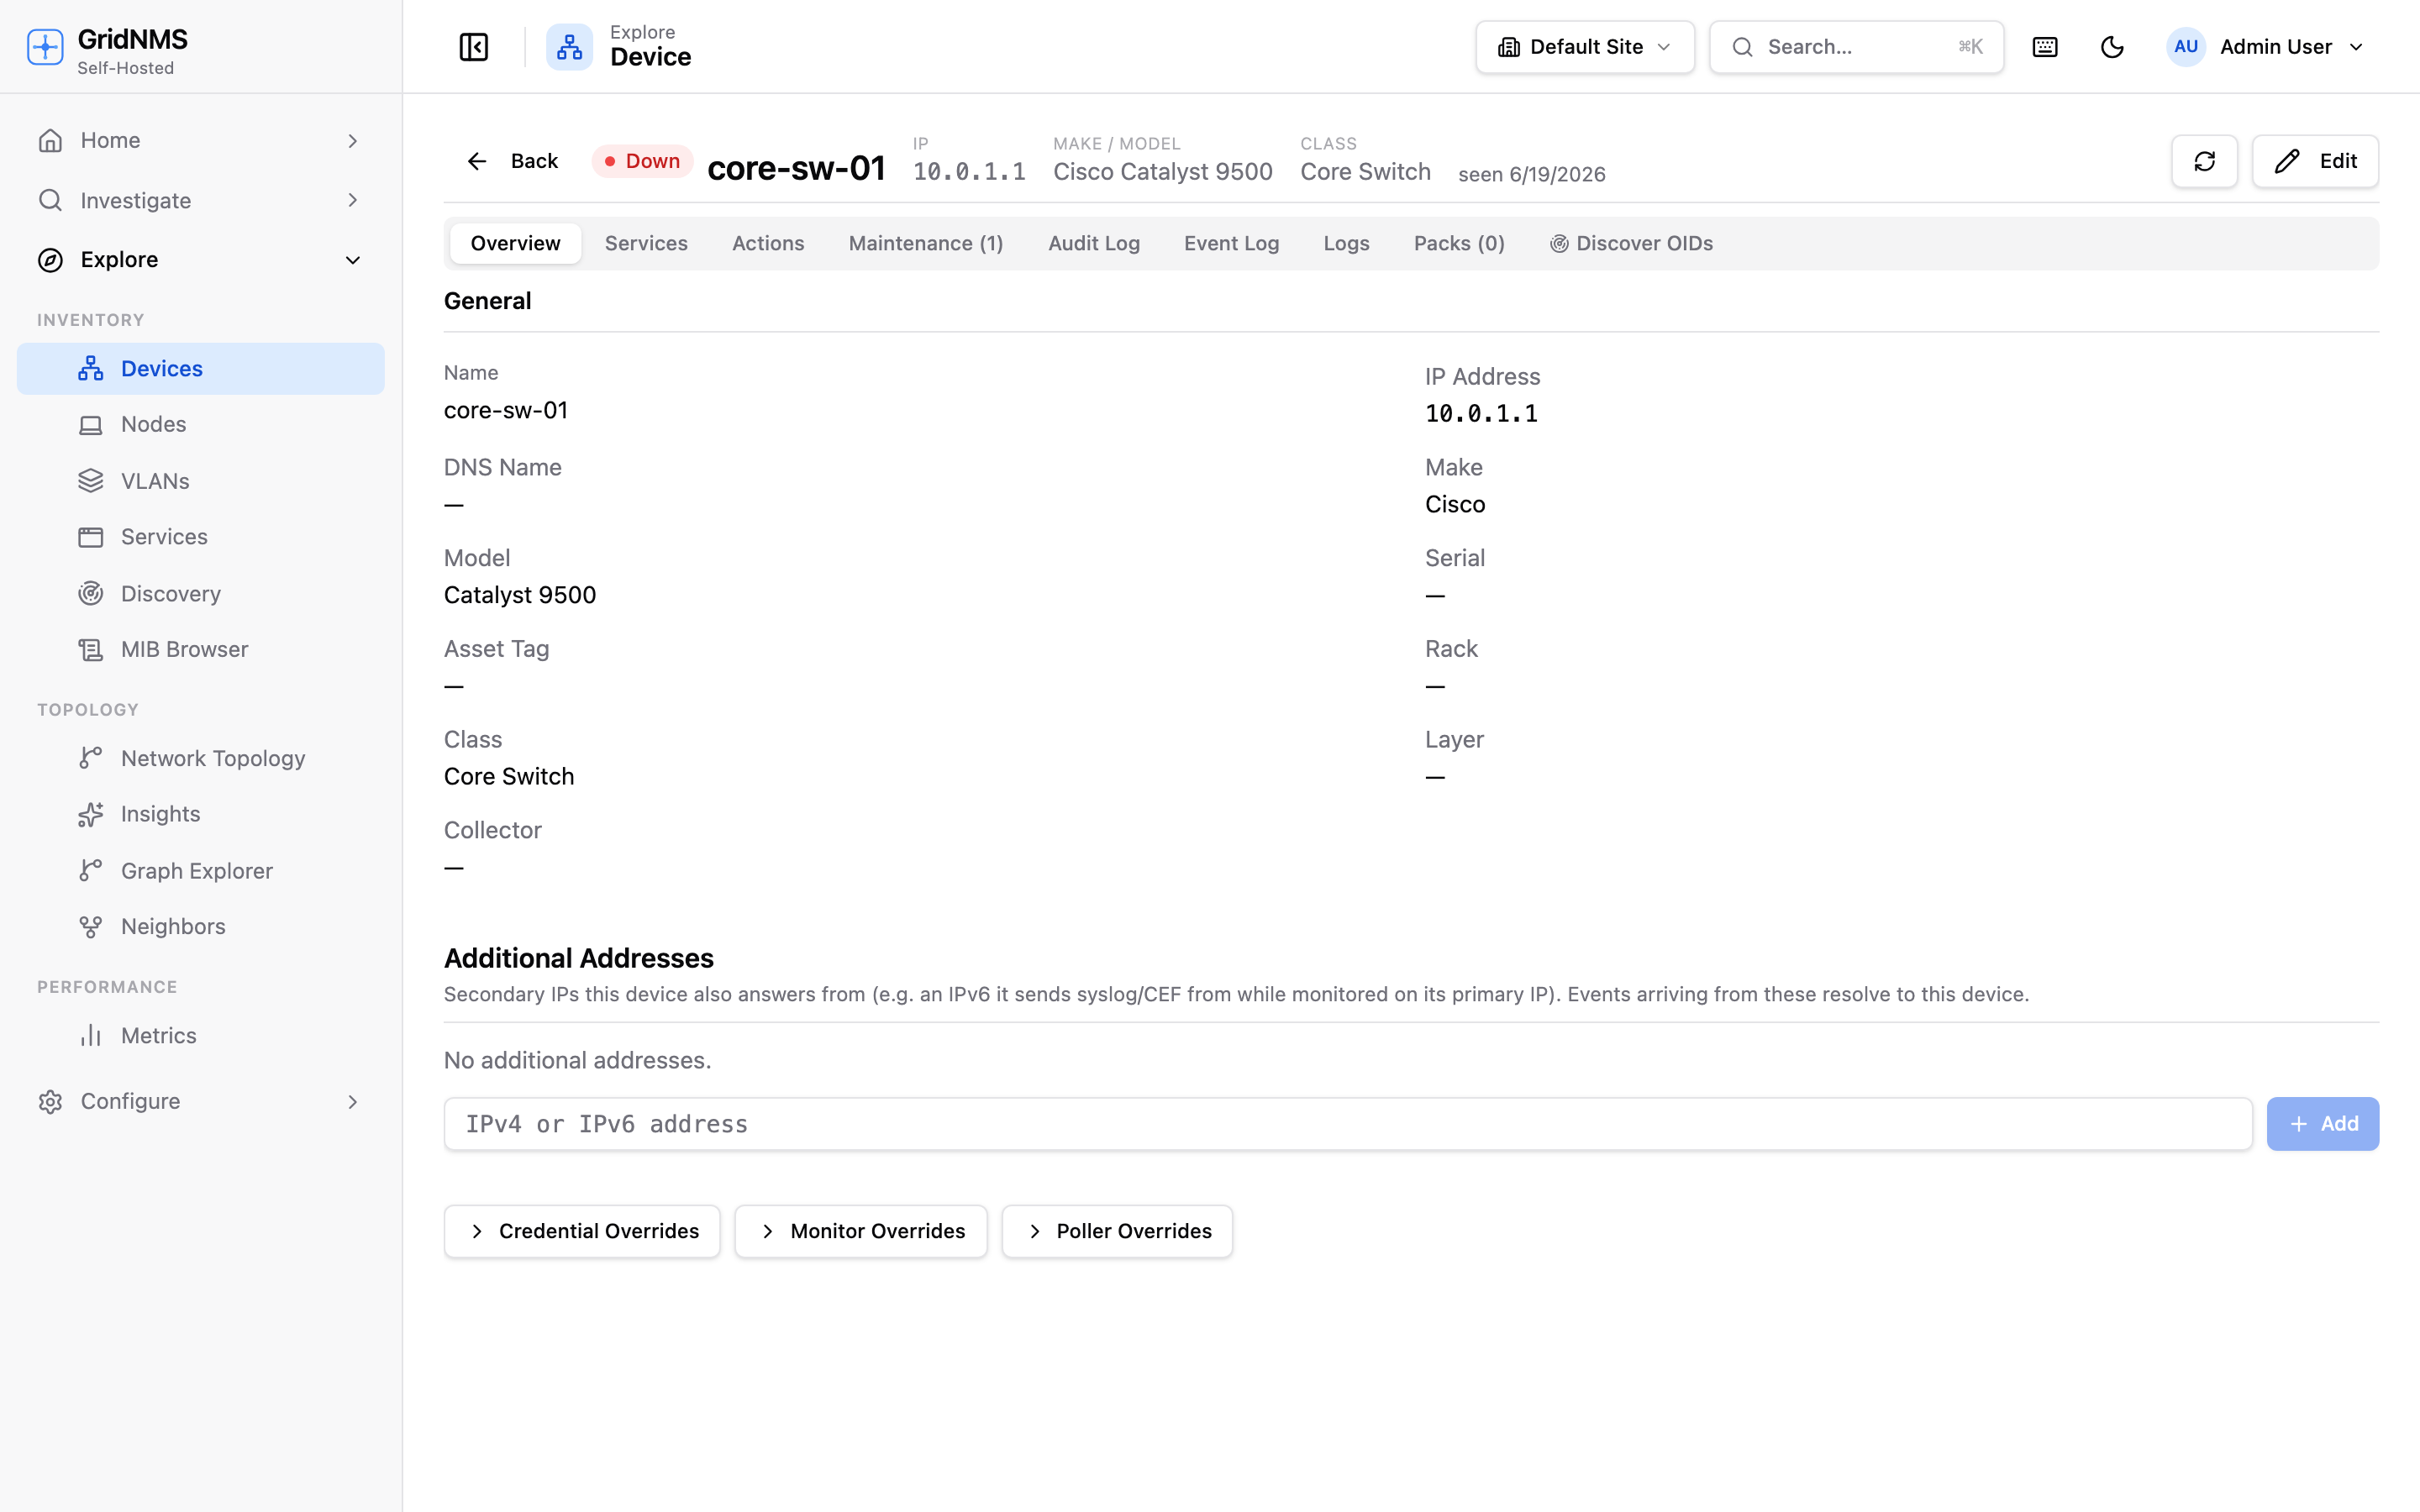 The device detail page, with tabs for overview, interfaces, events, metrics, and more.
The detail page is organized into tabs. Which tabs appear depends on the device’s class and the monitoring packs that apply to it, but you’ll commonly see:
| Tab | What it shows |
|---|---|
| Overview | Key facts — status, address, class, site, uptime, vendor/model, and current health summary. |
| Interfaces | Every port on the device with its status, speed, and live traffic. You can set per-interface bandwidth thresholds here. |
| Events / Log | The history of events and log messages for this device. |
| Metrics | Charts for this device — traffic, CPU, memory, disk, and any other collected metrics. |
| Audit log | A record of changes made to this device in GridNMS — who edited what and when. |
Specialized device classes add their own tabs (for example, an access point might show connected clients, and a storage array might show volume capacity).
Bulk actions
Section titled “Bulk actions”When you need to act on many devices at once, select multiple rows in the device list using the checkboxes. A bulk-action bar appears, letting you:
- Turn monitoring on or off for all selected devices.
- Reassign them to a different site or collector.
- Change their class.
- Delete them from inventory.
This is the fastest way to onboard or reorganize a batch of devices after a discovery scan.
Where to go next
Section titled “Where to go next”- Find devices automatically with Network Discovery.
- See how devices connect on the Topology & Neighbors page.
- Learn what GridNMS checks and how often in Monitoring.