Connect Your First Site
GridNMS Cloud needs a collector inside your network to do the actual watching. The collector connects outbound to your GridNMS instance — you never open any inbound firewall ports. This page gets your first collector online.
New to collectors? Read What Is a Collector? first.
Before you start
Section titled “Before you start”- A machine on the network you want to monitor (a small Linux VM is ideal — 1–2 CPUs and 1 GB RAM is plenty to start).
- Outbound HTTPS (443) access from that machine to your GridNMS instance.
- Admin access to your GridNMS instance.
1. Get your join command
Section titled “1. Get your join command”- In GridNMS, go to Configure → Collectors.
- Select Add collector. GridNMS shows a ready-to-run command containing your instance address and a one-time join token.
- Copy that command — you’ll run it on your collector machine in the next step.
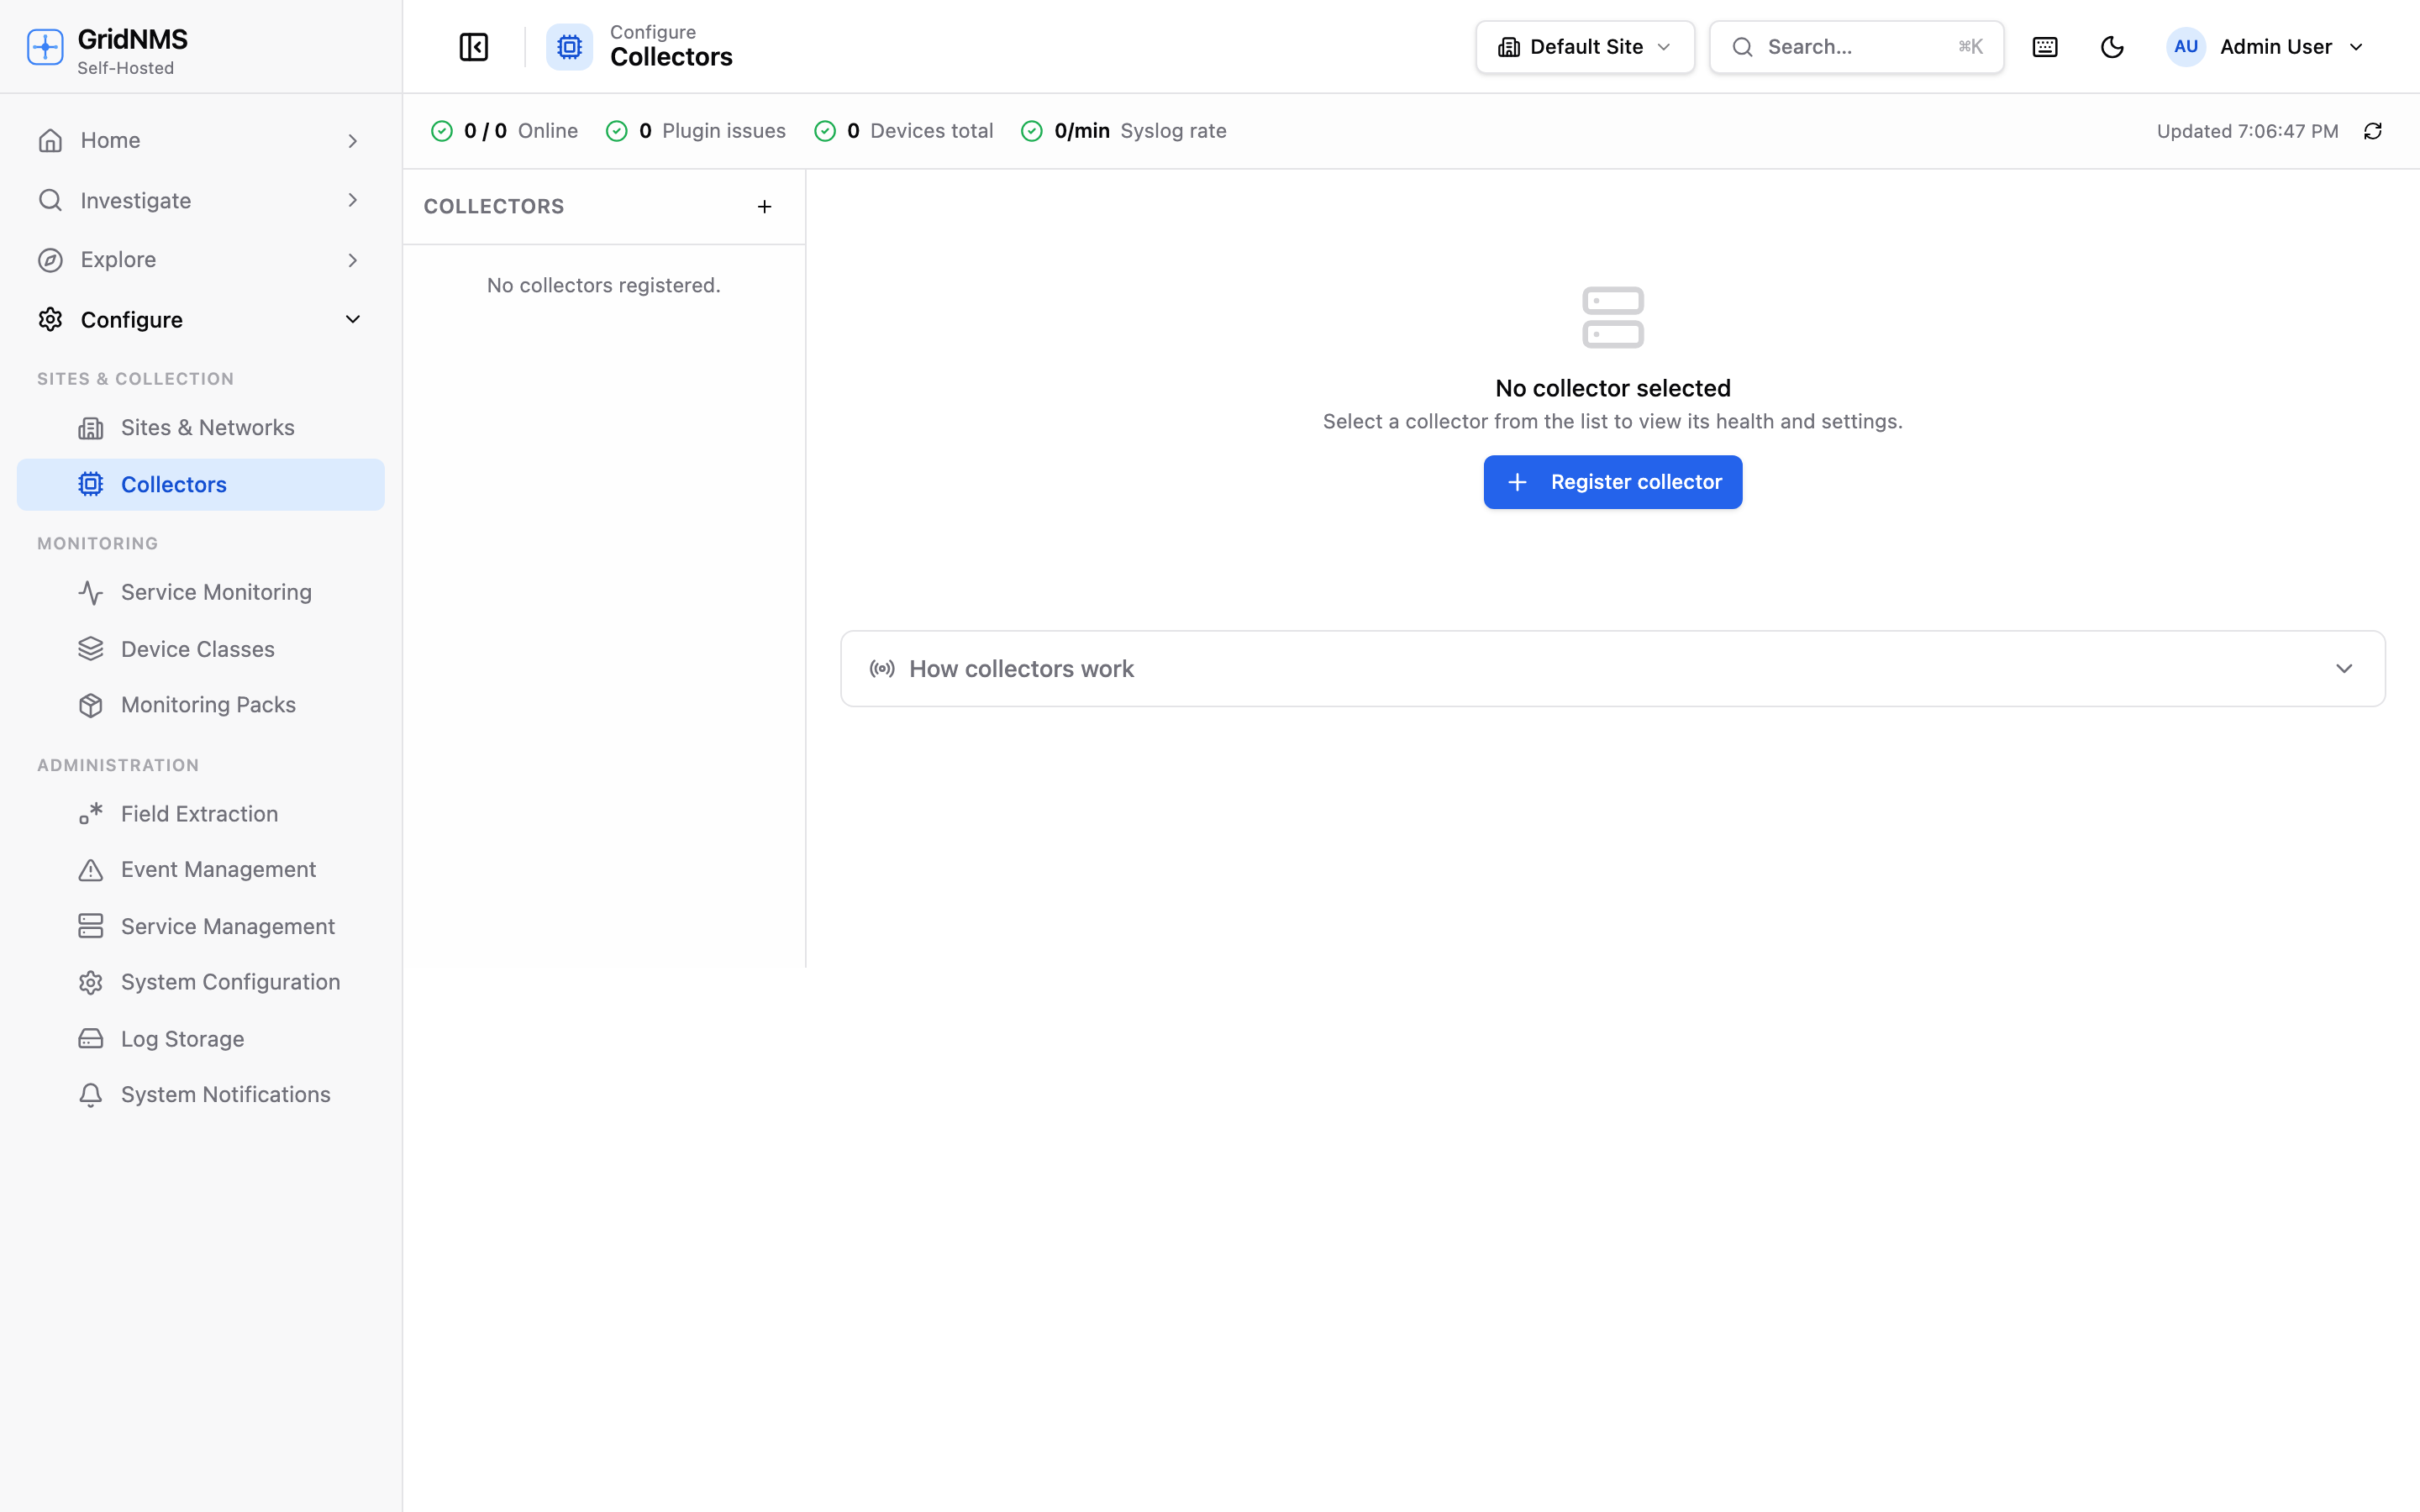 Configure → Collectors: add a collector and watch it come online.
2. Run the collector
Section titled “2. Run the collector”Run the command from the previous step on your collector machine.
Run it with host networking so the collector sees the real source IP of syslog and SNMP traps:
docker run -d --name gridnms-collector --restart unless-stopped \ --network host \ -e GRIDNMS_TUNNEL_URL="https://<your-instance>/api/tunnel/ws" \ -e GRIDNMS_JOIN_TOKEN="<your-join-token>" \ -e GRIDNMS_STATE_DIR=/var/lib/gridnms \ -v gridnms-collector-state:/var/lib/gridnms \ gridnms/collector:latest(The Add collector screen fills in the address and token for you.)
For a small site, install the GridNMS Collector desktop app — it runs the collector natively and preserves real source IPs. See Installing a Collector.
3. Confirm it’s online
Section titled “3. Confirm it’s online”Back on Configure → Collectors, your new collector appears and turns online within a few seconds.
4. Tell the collector what to watch
Section titled “4. Tell the collector what to watch”A collector only monitors the networks you assign to it:
- Open your collector on Configure → Collectors.
- Add the networks (IP ranges / CIDRs) it’s responsible for.
- Save. The collector begins discovering and watching devices in those ranges.
More on this in Networks & Sites.
What’s next
Section titled “What’s next”Your network is connected. Now add devices and see GridNMS in action: