Building a Monitoring Pack
When a device type isn’t fully covered by an existing monitoring pack, you have two ways to add support:
- Do it yourself — define collectors and views in a pack file, test them, and install the result.
- Let GridNMS do it — run an SNMP walk on the device to capture everything it exposes, then submit that capture to the GridNMS community pack library so the team can build pack support for that device type.
This page covers both. The assisted path is usually the fastest if you just want support to appear for a new device.
 The “Building Packs” section on the Monitoring Packs page documents the pack structure, value types, and view components you’ll use when authoring your own pack.
The do-it-yourself path
Section titled “The do-it-yourself path”A pack is a file that lists collectors (what to gather) and views (how to display it). You build one by writing that file, installing it, applying it to a class, and checking the result on a device.
1. Start from a reference
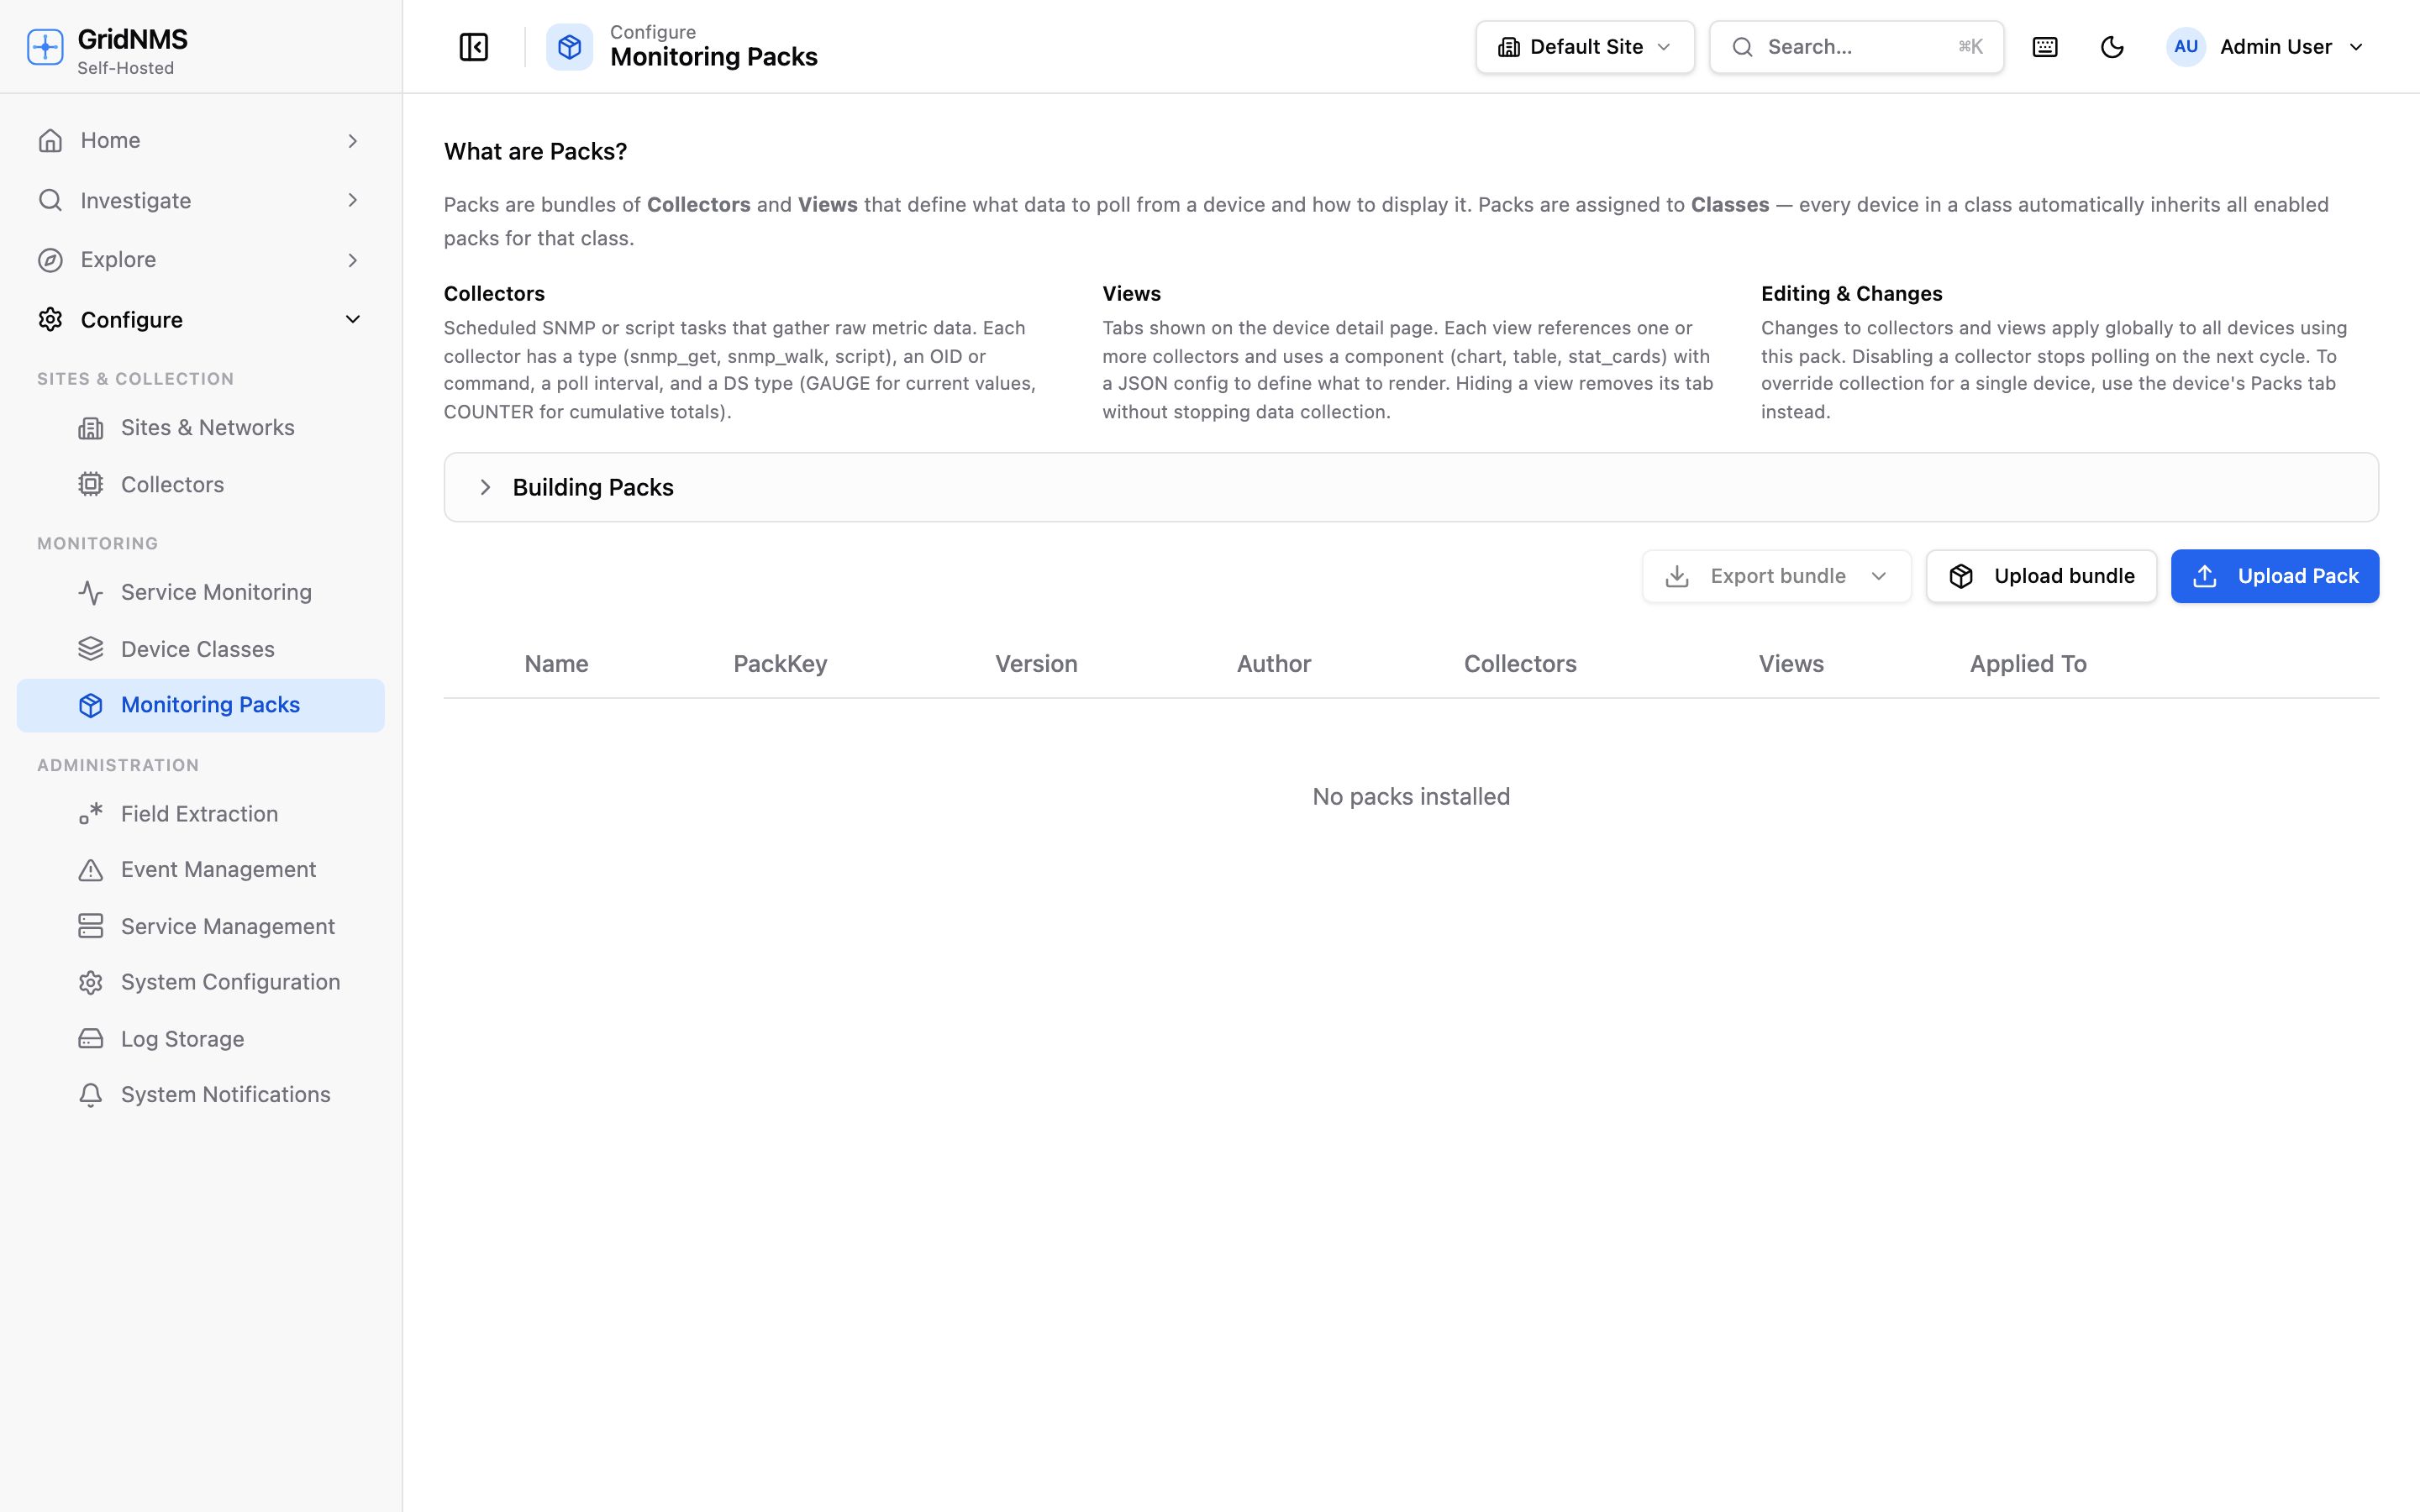
Section titled “1. Start from a reference”On the Monitoring Packs page, expand Building Packs for a built-in reference covering the pack structure, value types, and component types. The quickest way to start is to download an existing pack (the download icon on its row) and use it as a template — then change the names, OIDs, and labels for your device.
2. Define your collectors
Section titled “2. Define your collectors”Each collector is one scheduled measurement. Decide for each:
| Decision | Options |
|---|---|
| How to fetch it | A single SNMP value (snmp_get), a whole SNMP subtree (snmp_walk), or a command over SSH (ssh). |
| What to fetch | The exact OID, or the SSH command. |
| How often | The poll interval in seconds. |
| What kind of value | GAUGE for a current reading (CPU %, temperature, uptime); COUNTER for a cumulative total (bytes, packets) — GridNMS turns counters into a per-second rate for you. |
3. Define your views
Section titled “3. Define your views”A view is a tab on the device page. Pick a component for each:
| Component | Use it for |
|---|---|
| chart | A time-series line or area chart; can plot several collectors together. |
| stat_cards | A grid of latest-value cards. |
| table | Raw tabular data from a walk or script. |
| interfaces | The device’s full interfaces table. |
| neighbors | The device’s CDP/LLDP neighbors table. |
For a chart you also choose which collectors to plot, their display labels, the chart style (area or line), and — for counters — whether to plot the per-second rate.
4. Install, apply, and test
Section titled “4. Install, apply, and test”- On the Monitoring Packs page, click Upload Pack and select your file.
- Open the target class, go to its Packs tab, and click Apply Pack.
- Open a device in that class and check the new tab. Give it a poll cycle or two for the first data to arrive.
5. Export and share
Section titled “5. Export and share”Once it works, you can download the pack from its row to reuse elsewhere, or Export bundle to package a whole vendor set into one archive. See Monitoring Packs for installing and exporting.
Finding OIDs with the MIB Browser
Section titled “Finding OIDs with the MIB Browser”The MIB Browser helps you discover and verify the OIDs you’ll put in your collectors.
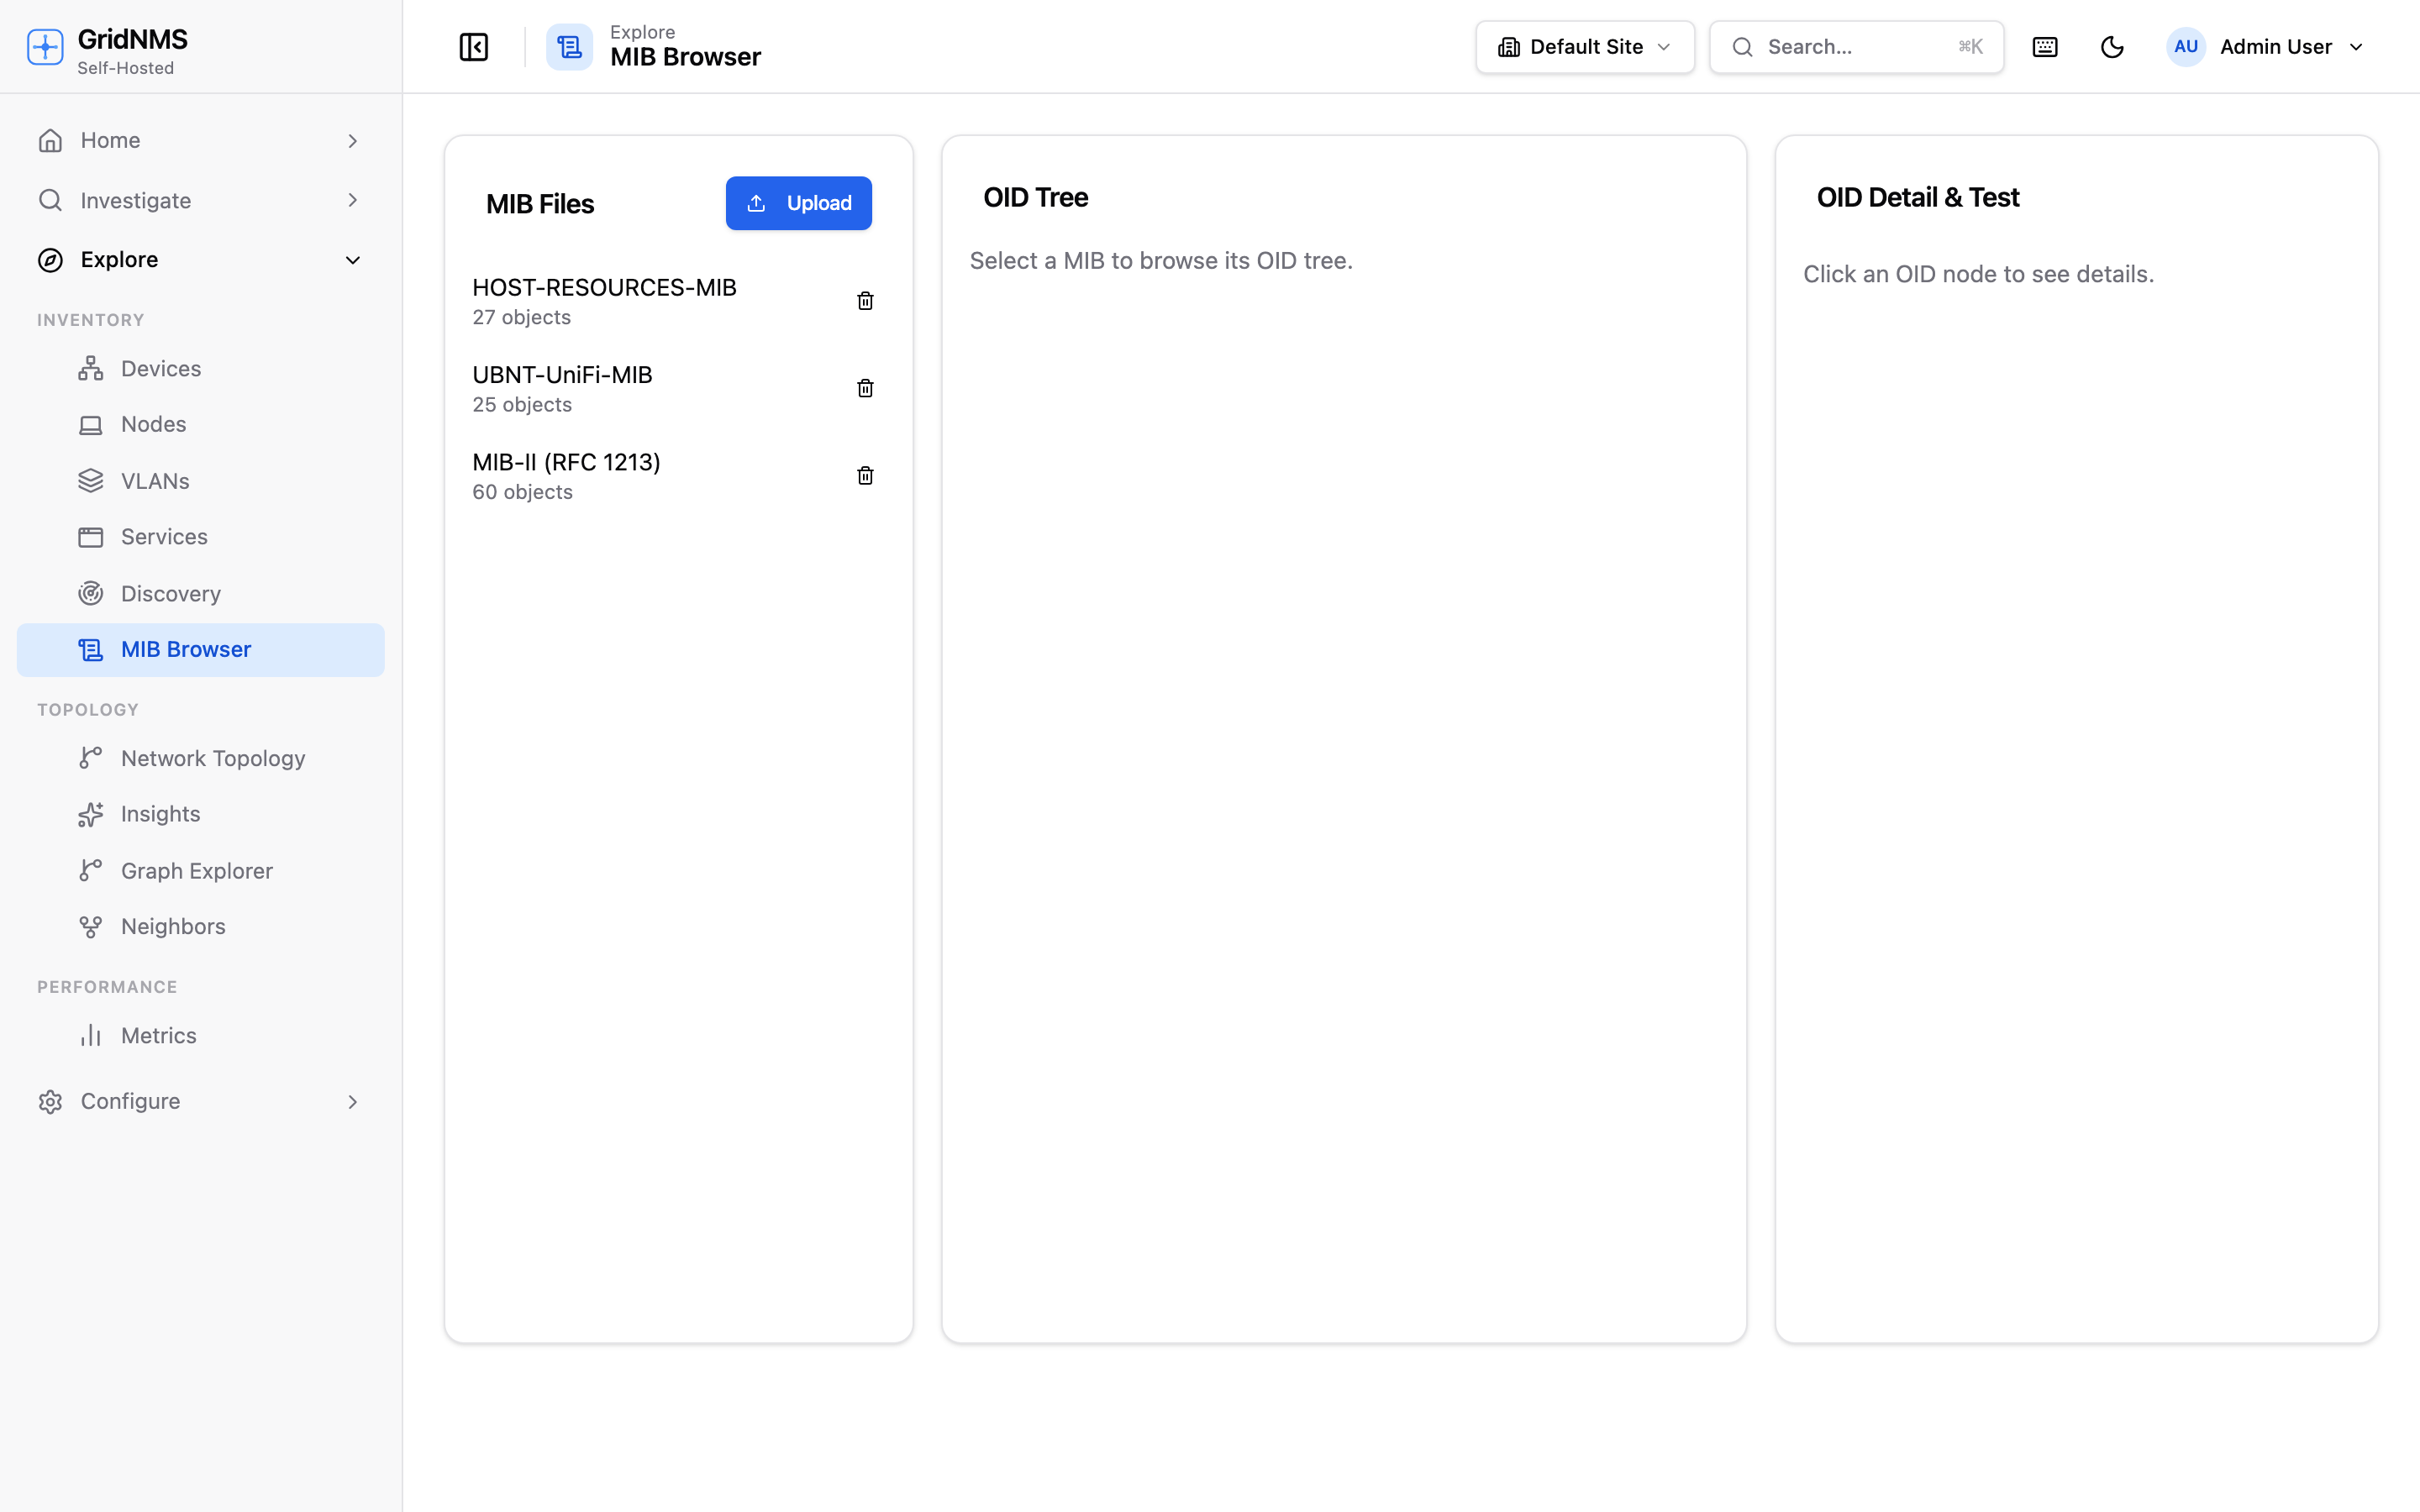 The MIB Browser: uploaded MIB files on the left, the OID tree in the middle, and the OID detail plus a live test query on the right.
To use it:
- Upload a MIB. Click Upload, give it a name (e.g. IF-MIB), and paste in the raw MIB text. GridNMS parses it into a browsable tree of named objects.
- Browse the tree. Select the MIB to expand its OID tree. Click any object to see its numeric OID, syntax, access level, status, and description.
- Test it live. In the detail panel, pick a device, choose GET (a single value) or WALK (a whole subtree), confirm the OID, and click Run Query. The device’s real response appears in a table — so you can confirm the OID returns what you expect before you bake it into a collector.
The assisted path: run a walk, let GridNMS build it
Section titled “The assisted path: run a walk, let GridNMS build it”If you’d rather not author a pack by hand — or you’re working with an unfamiliar device — capture everything the device exposes and submit it. GridNMS uses these submissions to build pack support for that device type.
1. Run an SNMP discovery walk
Section titled “1. Run an SNMP discovery walk”- Open the device (Devices → the device).
- Find the SNMP Discovery Walk section.
- Choose a scope:
Scope What it covers MIB-II The standard, common values most devices share. A good default. Enterprise Vendor-specific values. Full Both standard and vendor-specific. The most complete (and slowest). Custom OID subtree Walk one specific branch you name. - Click Start walk. The walk runs in the background; the history list updates on its own and shows how many values were captured when it finishes.
2. Review the results
Section titled “2. Review the results”Click a completed walk to see every value it captured, grouped by subtree (system, interfaces, ip, and so on) and searchable with the filter box. You can download the full capture as JSON or CSV for your own records.
3. Submit to the GridNMS community
Section titled “3. Submit to the GridNMS community”When a walk is complete, click Submit to GridNMS on its results. This sends the captured values to the GridNMS community pack library, where they help build pack support for that device type. Once submitted, the walk is marked Submitted to community so you can see it’s already been shared.
Where to go next
Section titled “Where to go next”- Monitoring Packs — install, apply, and export the packs you build.
- Overriding Device Details — tailor a single device after its pack is in place.