Device Classes
A device class is the type of a device — Router, Switch, Firewall, Access Point, Server, Storage, and so on. Every device in your inventory belongs to a class, and that class is what tells GridNMS how to monitor it: which monitoring packs run, what data is collected, and which tabs appear on the device’s detail page.
Classes are arranged in a hierarchy, and settings flow down it. Get your classes right once, and every device of that type is configured automatically — no per-device setup.
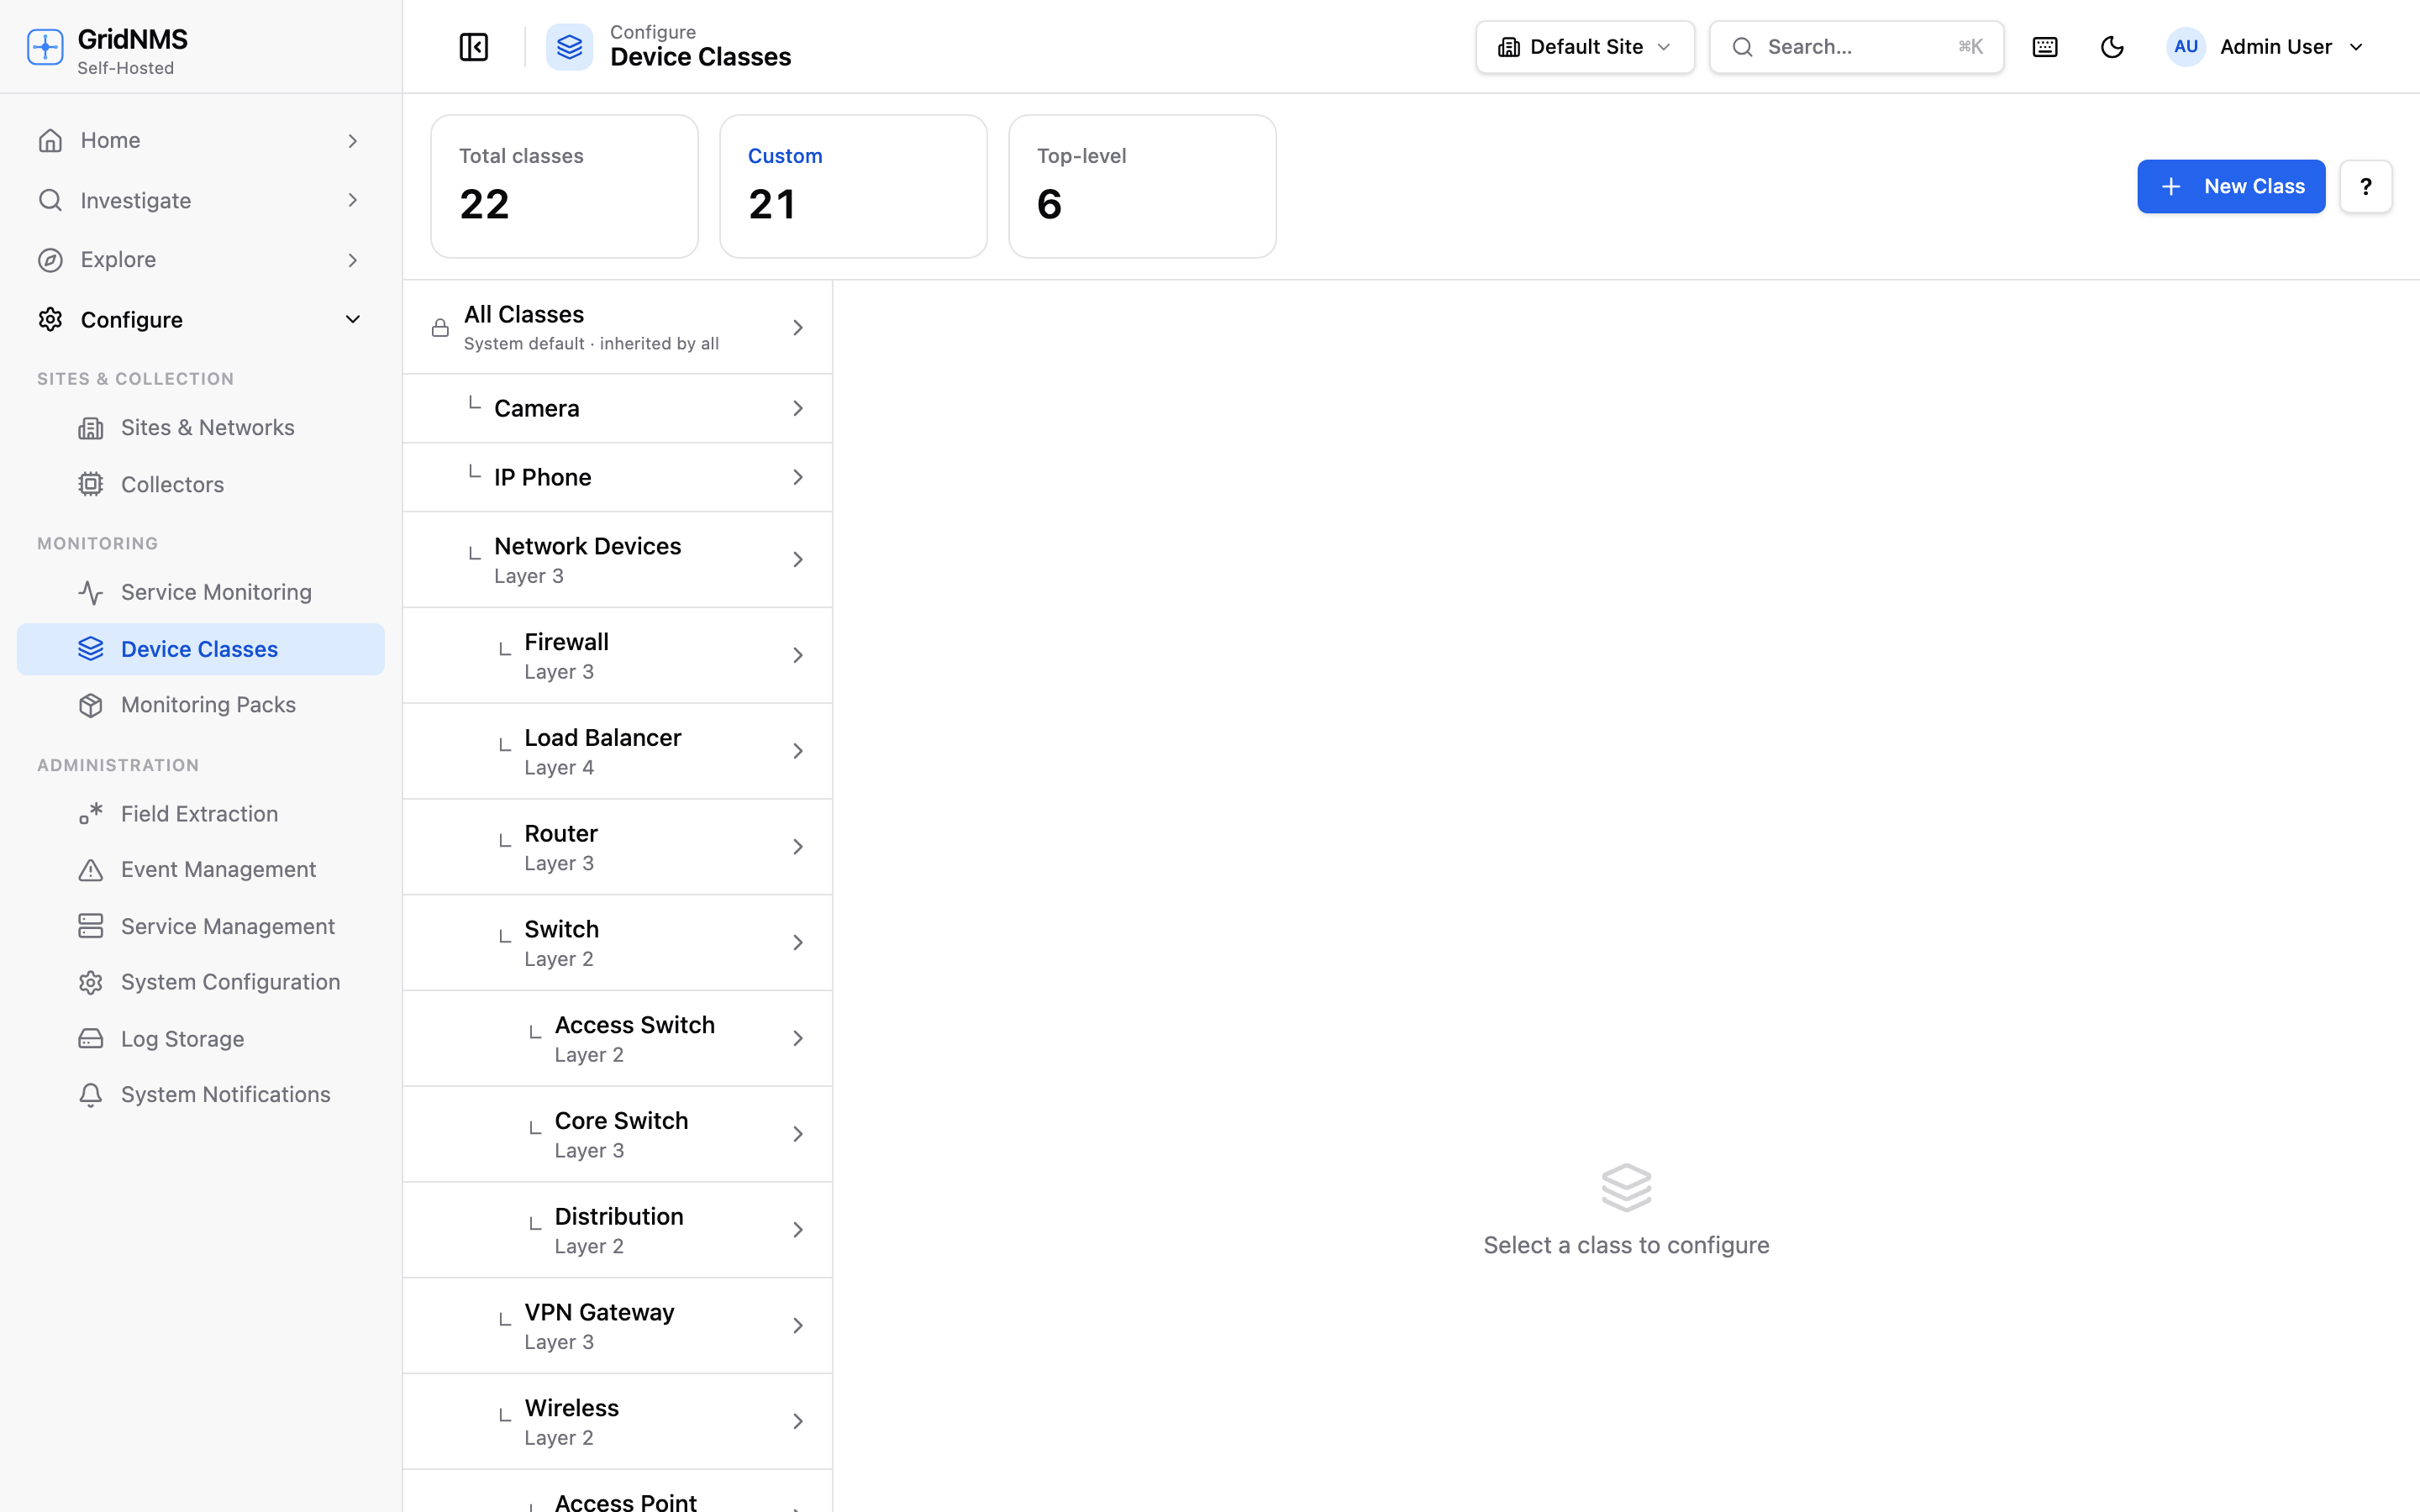 The Device Classes page: pick a class from the tree on the left, then configure its settings, devices, packs, and interfaces on the right.
What classes are for
Section titled “What classes are for”A class does three jobs:
- Decides what gets monitored. Each class has one or more monitoring packs attached. A device picks up every pack on its class — and every pack on the classes above it — so a switch collects port and interface data, while a server-style device collects CPU, memory, and disk.
- Holds shared settings. SNMP and SSH credentials, the reachability check method, and poll intervals can all be set once on a class and applied to every device in it.
- Shapes the device page. The packs on a class also define the detail tabs you see when you open a device, so all devices of the same type present a consistent layout.
The class hierarchy
Section titled “The class hierarchy”Classes form a tree. At the very top is a built-in All Classes root (marked with a lock icon) — these are the global defaults that every class and device inherits unless something below overrides them.
Below the root sit your top-level categories (Router, Switch, Server, and so on), and you can nest more specific classes underneath them. A typical hierarchy:
All Classes (system defaults — inherited by everything)├── Router│ └── Cisco Router (inherits everything from Router, plus its own)├── Switch├── Firewall├── Access Point├── Server│ ├── Linux│ └── Windows└── StorageHow inheritance works
Section titled “How inheritance works”A child class inherits everything from its parents and can add to or override it:
- Packs add up. A Cisco Router that sits under Router collects both the generic Router packs and any Cisco-specific packs attached directly to it. Children never lose their parent’s monitoring — they only gain more.
- Settings fall through. A credential or poll interval left blank on a class falls through to its parent, and ultimately to the All Classes defaults. Set a value at any level to override what’s above it.
This “most specific wins” rule means you can set a community string once at the top and override it only where a particular family of devices differs.
Creating and editing a class
Section titled “Creating and editing a class”To add a class:
- Open Device Classes.
- Click New Class.
- Fill in the dialog:
Field What it does Name The display name (e.g. Core Switch, Edge Firewall). Parent Class The class this one sits under. Leave it as None to make a top-level category. Description An optional note describing what the class is for. Layer An optional network layer (2 or 3). Topology and map views use it to group devices correctly. - Click Create.
To change a class later, select it in the tree and click Edit. To remove one, select it and click Delete.
Assigning monitoring packs to a class
Section titled “Assigning monitoring packs to a class”This is how you turn on monitoring for a whole device type at once.
- Select the class in the tree.
- Open the Packs tab.
- Click Apply Pack.
- Choose a pack from the list of installed packs and click Apply.
Every device in that class — and every device in its child classes — immediately inherits the pack and begins collecting its data on the next poll cycle. Packs already applied are marked so you don’t add them twice.
In the Packs tab you can expand any applied pack to see its individual collectors (the scheduled data points) and views (the detail tabs). From here you can also turn individual data points on or off for just this class — see Enabling & Disabling Data Points.
Class-level credentials and settings
Section titled “Class-level credentials and settings”The Settings tab on a class holds the shared configuration for every device in it. Anything you leave blank falls through to the parent class (and ultimately the defaults).
The settings are grouped:
| Group | Settings | Notes |
|---|---|---|
| SNMP | Version (1, 2c, 3), community string, SNMPv3 user, auth protocol/key, privacy protocol/key | Used to poll metrics over SNMP. |
| SSH | Username, password, enable password | Used by SSH-based collectors. |
| Monitoring | Reachability method (ICMP, TCP, HTTP/HTTPS, SSH, Telnet), port, endpoint path, timeout, fallback method | Controls the Up/Down check. |
| Polling | SNMP poll interval, SSH poll interval (seconds) | How often data is gathered. Minimum 30 seconds. |
After making changes, click Save Settings. The new values apply to every device in the class that doesn’t override them individually.
The other tabs
Section titled “The other tabs”When a class is selected you also get:
- Devices — a list of every device currently in this class, with quick links to open each one. See Devices & Inventory to manage membership.
- Interfaces — patterns for interfaces to ignore on devices of this class, so noisy or irrelevant ports don’t clutter your view. See Working with Interfaces.
Where to go next
Section titled “Where to go next”- Monitoring Packs — what packs contain and how to install them.
- Enabling & Disabling Data Points — fine-tune exactly what each class or device collects.
- Devices & Inventory — assign devices to classes and inspect them individually.