Overriding Device Details
When GridNMS adds a device, it fills in as much detail as it can on its own: the device’s name, make and model, location, contact, description, and more. Most of this comes from what the device reports over SNMP. That auto-discovery is a huge time-saver — but the values a device reports aren’t always the ones you want to see.
Maybe the device’s configured name is a cryptic hostname and you’d rather show a plain-English label. Maybe SNMP reports a vague model string and you want the exact part number from your asset records. This page explains how to override any auto-gathered field with your own value, when that’s the right call, and how your override behaves when GridNMS re-checks the device.
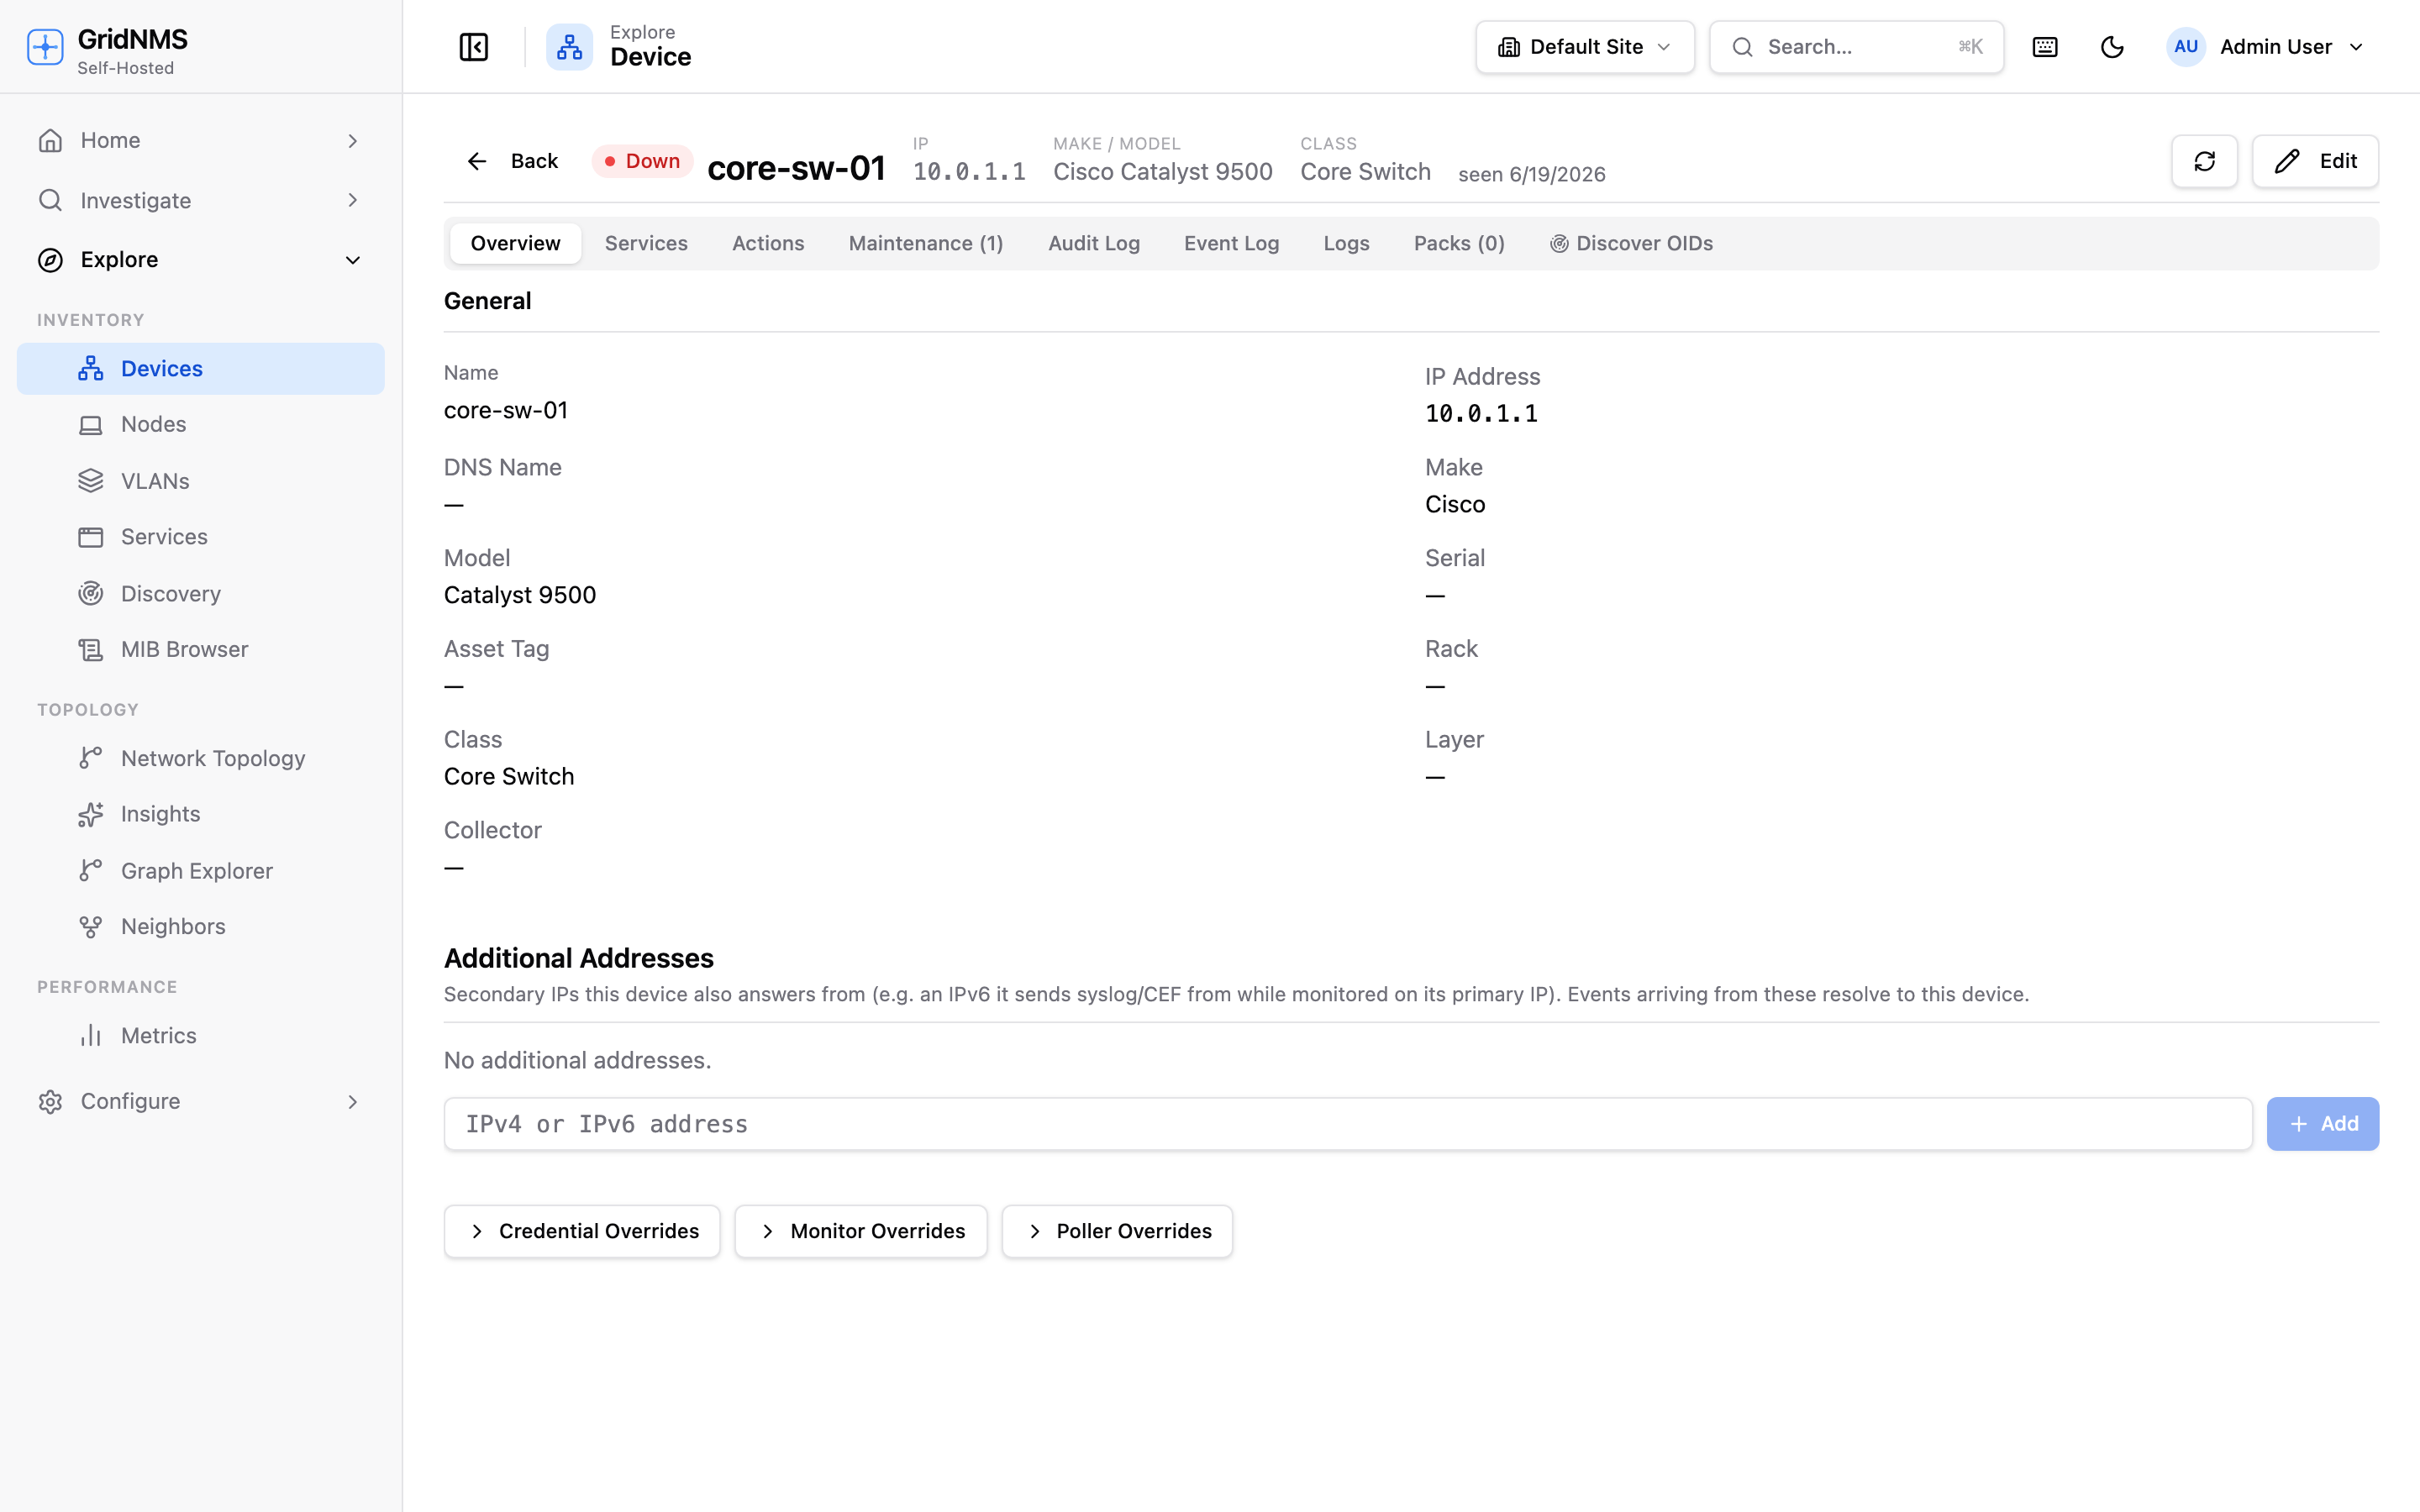 The device detail page. The General section shows each field’s current value, with a hint when it differs from what SNMP reports.
Auto-gathered vs. your values
Section titled “Auto-gathered vs. your values”For each device, GridNMS keeps two things in mind for fields like name, location, and contact:
- The value you see and use — the device’s own field, which drives the inventory, charts, topology, and everything else.
- The value SNMP reports — what the device itself says about that field.
On the device detail page, the General section shows both when they differ. A field that matches its SNMP counterpart shows a single value; a field where your value differs from SNMP shows your value alongside the reported one, so you always know when you’ve diverged from the device’s own answer. A dedicated SNMP detail panel (the small SNMP detail button in the General section header) shows the raw system information the device reports — its system name, description, location, and contact — even where those aren’t mapped directly to an editable field.
Setting an override
Section titled “Setting an override”- Open the device from Devices.
- Click Edit to open the device editor panel.
- Find the field you want to change and type your value over the existing one.
- Click Save.
The fields you can override here include:
| Field | What it’s for |
|---|---|
| Name | The display name used throughout GridNMS. |
| IP Address | The address GridNMS monitors the device on. |
| Make / Model | The vendor and product model. |
| Contact | Who’s responsible for the device. |
| Location | Where the device physically lives. |
| Rack / Serial / Asset Tag | Physical and inventory records. |
| Class | The device class that drives which monitoring applies. |
| Collector | Which collector polls this device. |
Once you save, your value takes precedence over whatever SNMP reports. The device list, charts, and topology all use it.
How overrides interact with re-discovery
Section titled “How overrides interact with re-discovery”GridNMS re-checks devices over SNMP on an ongoing basis. A natural worry is: won’t the next poll just overwrite my carefully chosen name?
No. Your override sticks. Once you’ve set a field manually, GridNMS treats your value as authoritative and won’t replace it with the SNMP-reported value on subsequent polls. The device’s reported value keeps updating quietly in the background — that’s what powers the Use SNMP value hint and the SNMP detail panel — but it no longer overwrites the field you took control of.
This means you can safely curate the fields that matter to you without fighting auto-discovery. The reverse is also true: any field you haven’t overridden stays fully automatic and tracks whatever the device reports.
When to use an override
Section titled “When to use an override”Good reasons to override an auto-gathered field:
- Friendlier names. Replace a raw hostname with a label your team recognizes
(e.g. Core-SW-DataHall-A instead of
sw01.dc.internal). - Accurate inventory. Fill in the exact model number, serial, asset tag, or rack position from your records when the device reports something vague or nothing at all.
- Correct contact or location. Point at the right team or room when the
device’s configured
sysContact/sysLocationis stale. - Stable identity. Lock a name so it doesn’t change if someone edits the device’s own configuration.
Reasons to leave a field automatic:
- The SNMP value is already correct and you’d rather it stay current.
- You want the field to reflect exactly what the device itself reports.
Inspecting raw SNMP before you override
Section titled “Inspecting raw SNMP before you override”Before overriding a field, it’s often worth seeing exactly what the device is reporting — both to confirm the auto value really is wrong and to find a better source value. GridNMS includes a built-in browser for this.
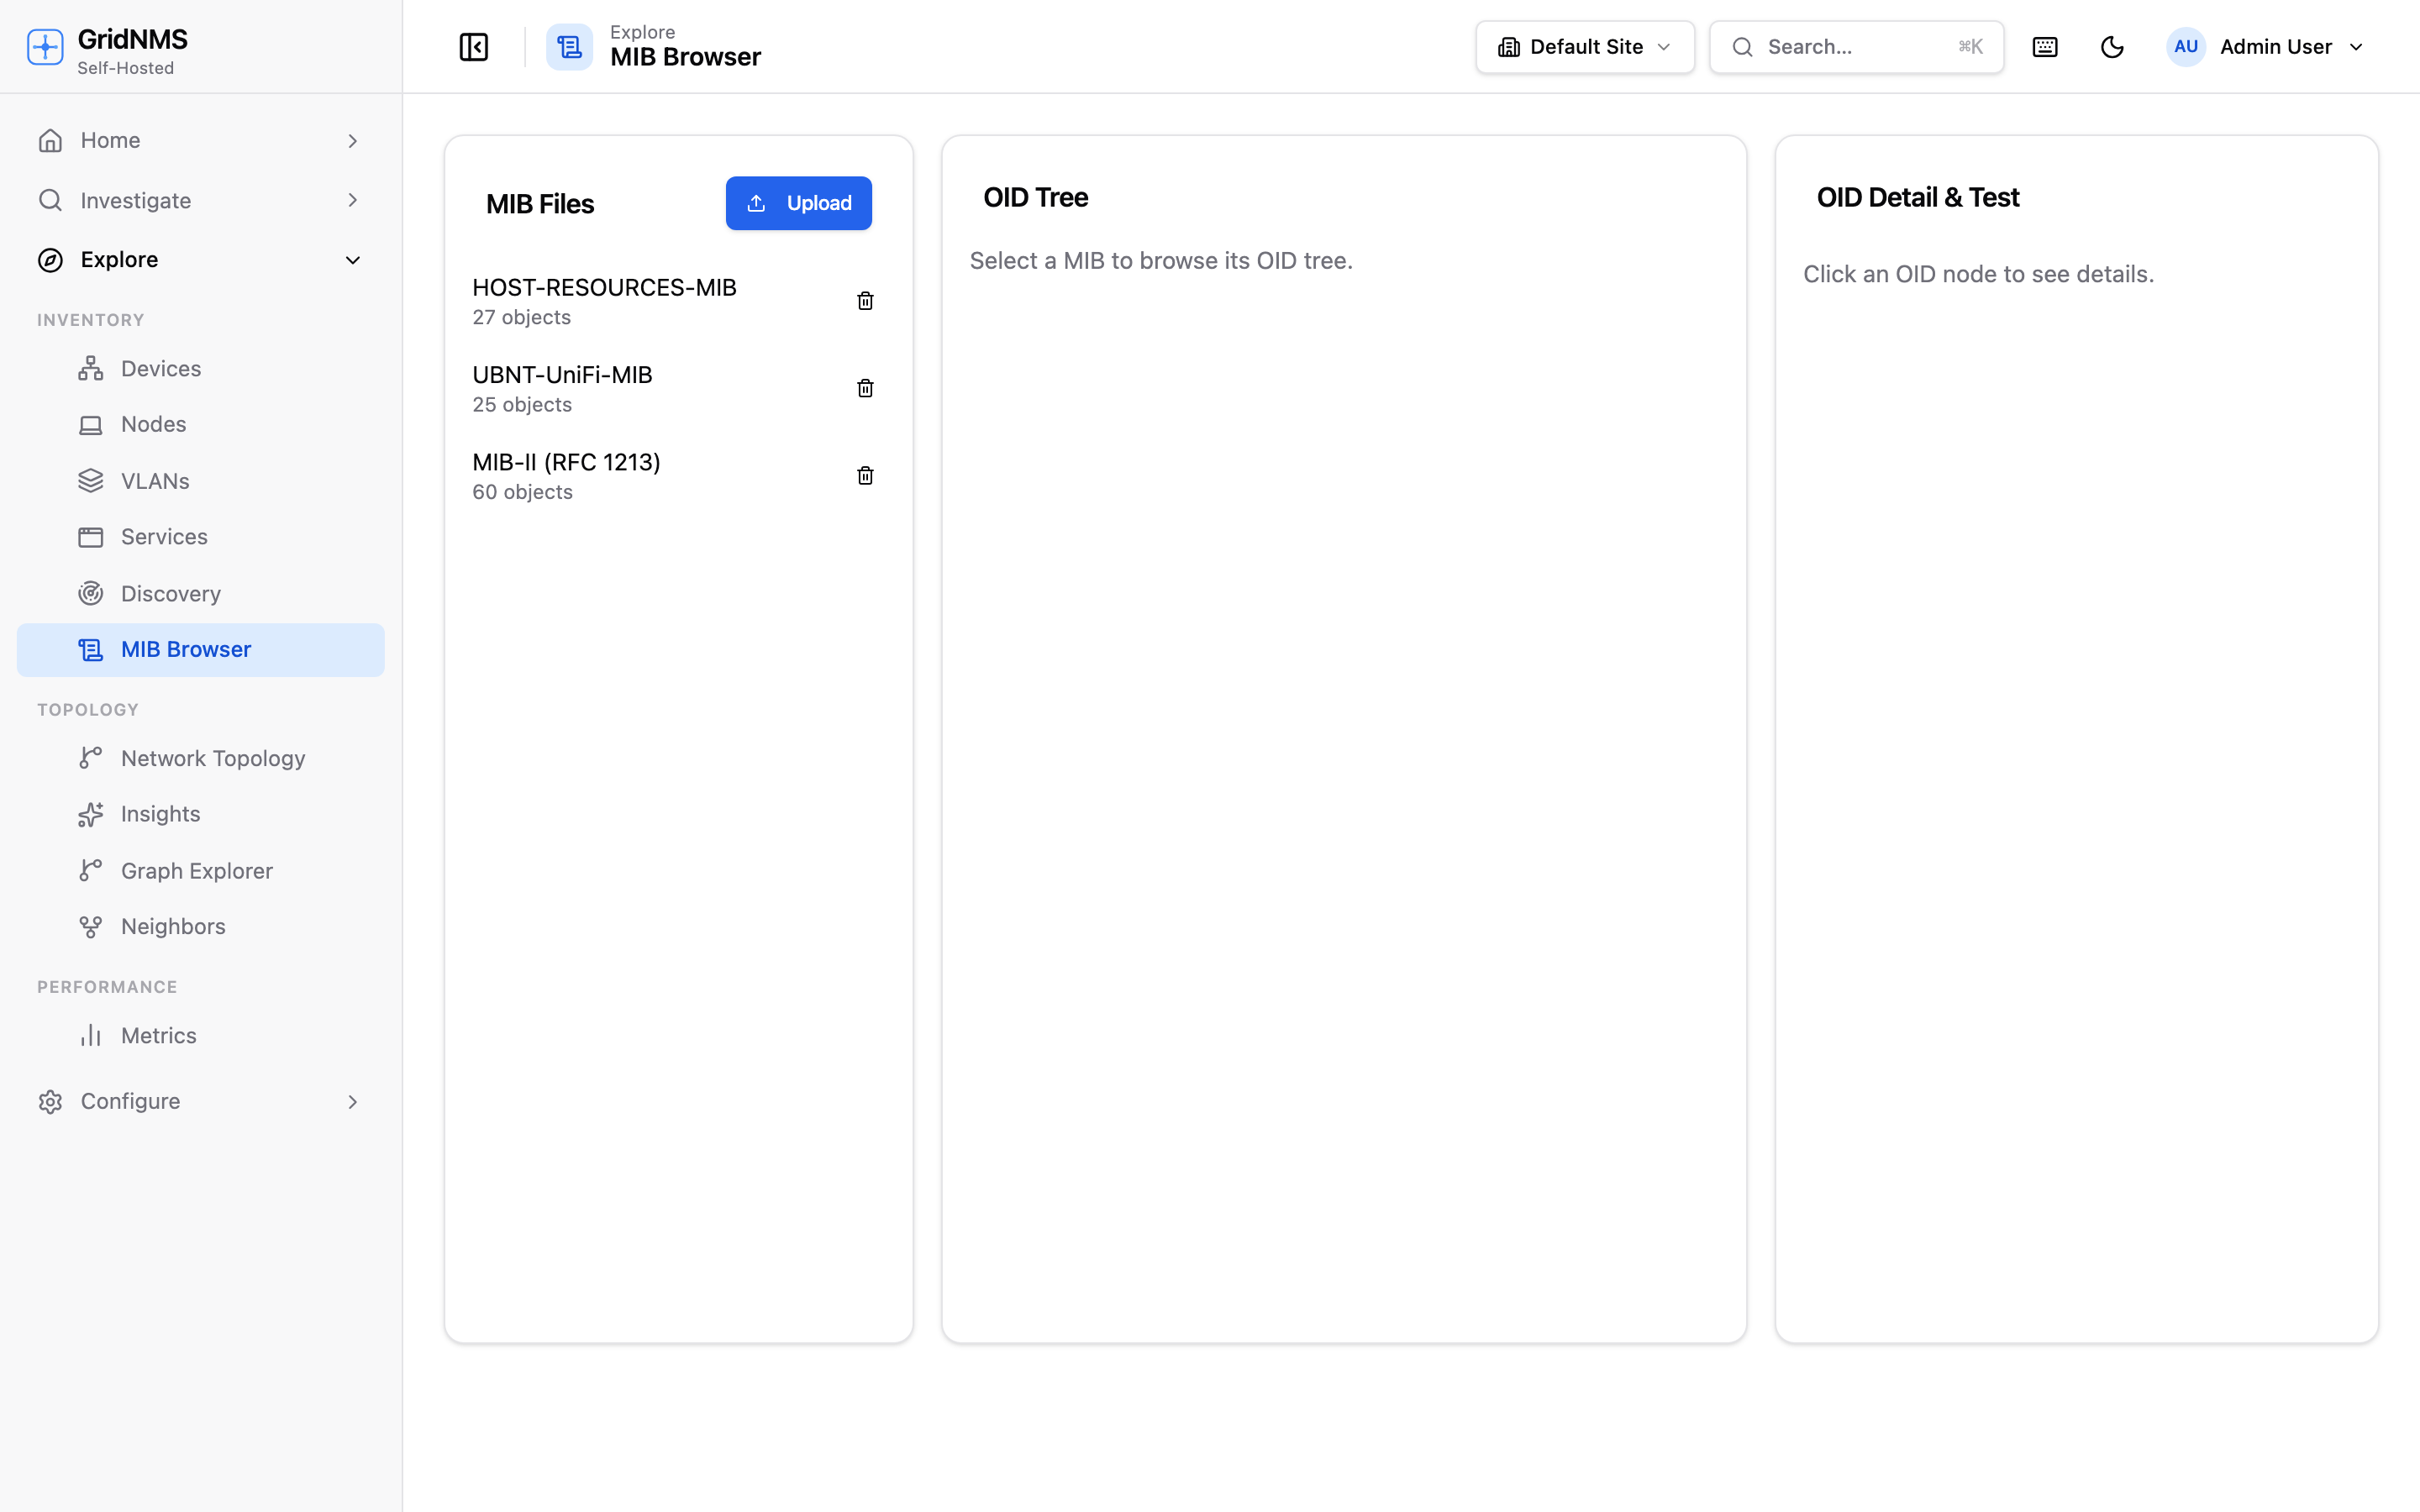 The Discover OIDs tab walks the device over SNMP and lists everything it reports, grouped by area (system, interfaces, IP, and vendor-specific).
On the device detail page, open the Discover OIDs tab. From there you can run an SNMP walk — GridNMS queries the device and lists every value it exposes:
| Walk scope | What it covers |
|---|---|
| MIB-II (standard) | The common, vendor-neutral information every SNMP device exposes — system info, interfaces, IP, TCP/UDP. |
| Enterprise (vendor-specific) | Values unique to the device’s manufacturer. |
| Full | Both of the above. |
| Custom | A specific branch you name, if you know exactly where to look. |
Results are grouped by area (such as system, interfaces, and enterprises) and you can filter them with the search box to find a specific value. This is the authoritative view of what the device actually reports, so it’s the best way to decide whether an auto-filled field is wrong and what to put in its place.
Related pages
Section titled “Related pages”- Devices & Inventory — browsing, adding, and organizing devices.
- Working with Interfaces — curating and threshold-setting per interface.
- Building a Monitoring Pack — change how a whole class of devices is monitored, rather than overriding one device at a time.